Page updated on: June 15, 2009
February 5, 2011
Quick links within this page:
The "Factory"
Roll Around Cupboard
Work Benches
Fiberglass Rack
Epoxy Hot Box
Roll Around Wood Rack
Hot Wire Saw
Heat Tent
The "Factory"
|
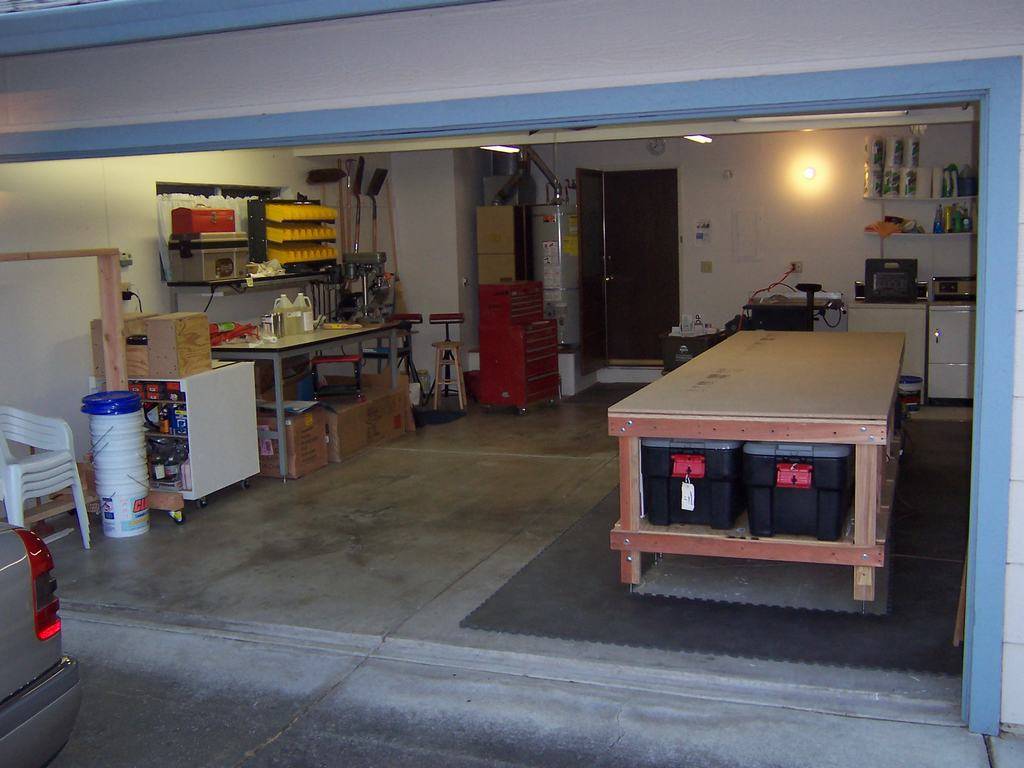
The Factory
I was really surprised at how long it took me to prepare the factory. It is fairly small since it is a two car garage. The dimensions are 23 1/2 feet by 19 1/2 feet. However, the washing machine and furnace take up about 3 feet, so usable dimensions are 20 feet x 19 1/2 feet. Initially I thought I could turn it into a factory in a couple of months, but it ended up taking about 9 months to complete!
Over the 20-years I have been in the house, the garage had become a catch all for anything there wasn't room in the house for. There was just enough room to park my car. So, going through all that stuff took about 3 months. Most of it was thrown out. In the end the only items left were the garden tools and a few maintenance items.
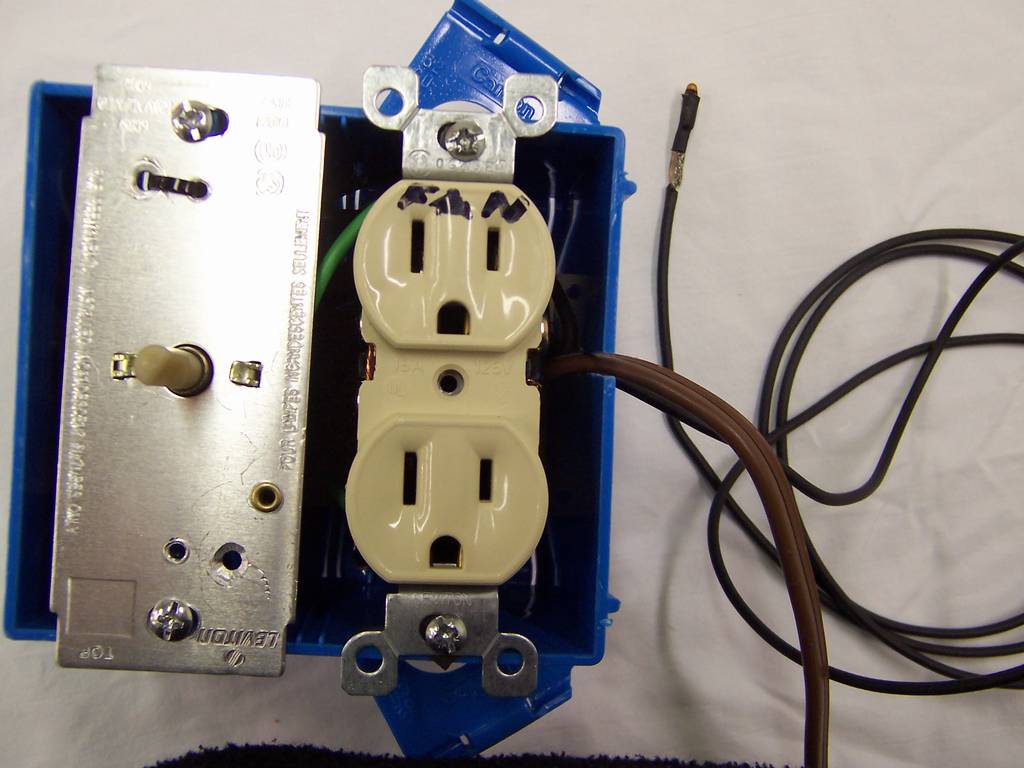
The next step was to wire the garage for additional outlets. The building department was very helpful. They helped me fill out the various forms and made suggestions as to what was needed to get a building permit. This was the first time I had ever needed one and it was an interesting and pleasant experience.
With building permit in hand, the electrical work began. It took about a week to get the three new 20 amp circuits routed from the electrical panel to the 11 new outlet boxes scatter along the ceiling and the walls. Once it was roughed in, the building inspector came out and approved the installation.
The next task was to insulate the walls. There was one wall that was finished and one that was bare studs. For the finished wall, I had to cut 3-inch holes near the ceiling between each stud to blow in insulation. Cutting the holes, 28 of them, took a few hours. Blowing the insulation in took a full day. I was able to rent a blower from Home Depot. It was time consuming, but not very challenging.
At this point, it was now the middle of November and all work stopped due to holidays, a consulting job and a vacation. So for a month and a half, there was no work done at all. However, once January rolled around, it was time to get started again. By the end of the month, rolls of insulation had been installed between the studs on the exposed wall and insulation had been installed between the ceiling rafters. Boy was that a lot of work! I was very fortunate I was able to borrow some scaffolding to put in the garage to stand on while stapling the insulation to the rafters.
After the insulation was installed, the building inspector came by to sign it off. Once that was done, I could now put up drywall. The number of new skills you learn while building an airplane is remarkable! I had never done any dry walling before. I'm not very good at it, but I now know how to do it!
After the drywall was up and all the taping and painting had been done, the final building inspection was needed. Boy, I was getting butterflies in my stomach every time the building inspector came out. It is sort of like taking a test! As on his previous visits, he was very friendly and signed everything off!
Roll Around Cupboard
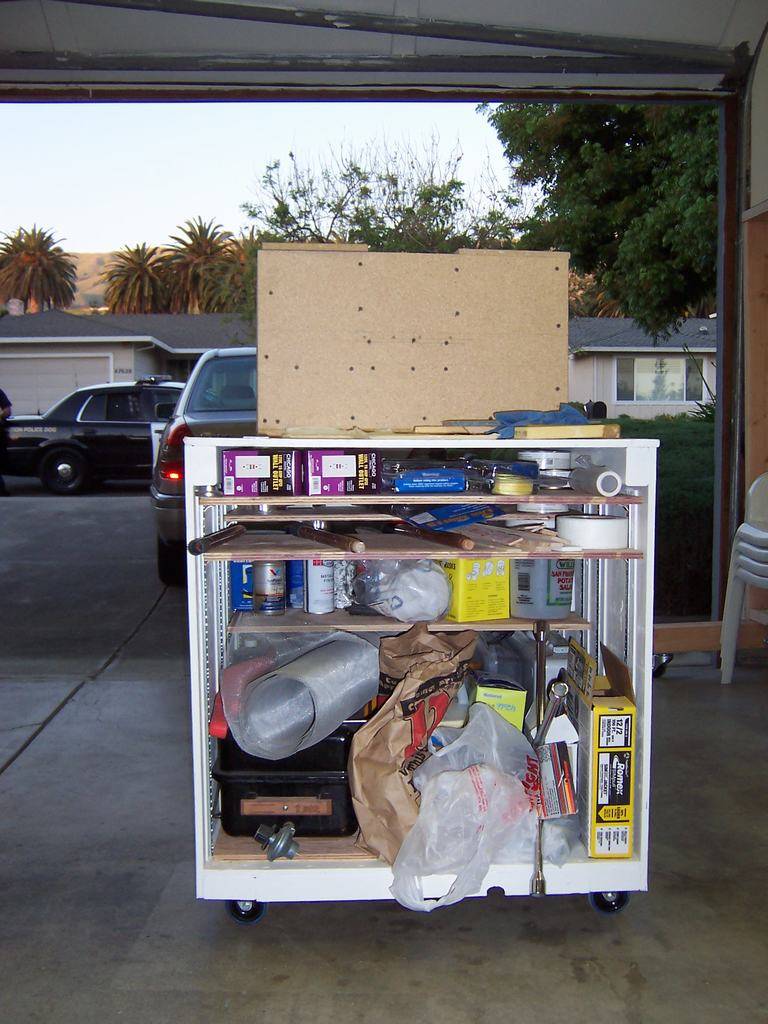
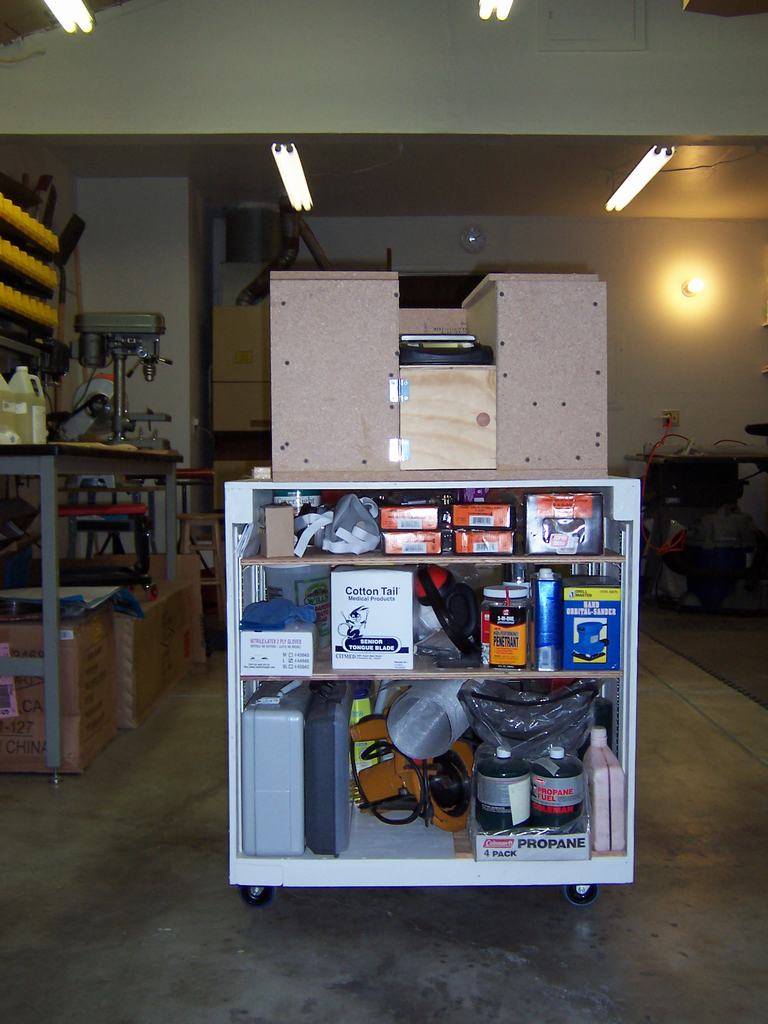
It was now time to start on some additional infrastructure. There was a roll around cupboard to be designed and built to hold the miscellaneous house maintenance items. Here is a picture of the completed unit. Note that that it is open on two sides to allow easy access to the contents.
|
|
| Front of cupboard | Back of cupboard |
Work Benches
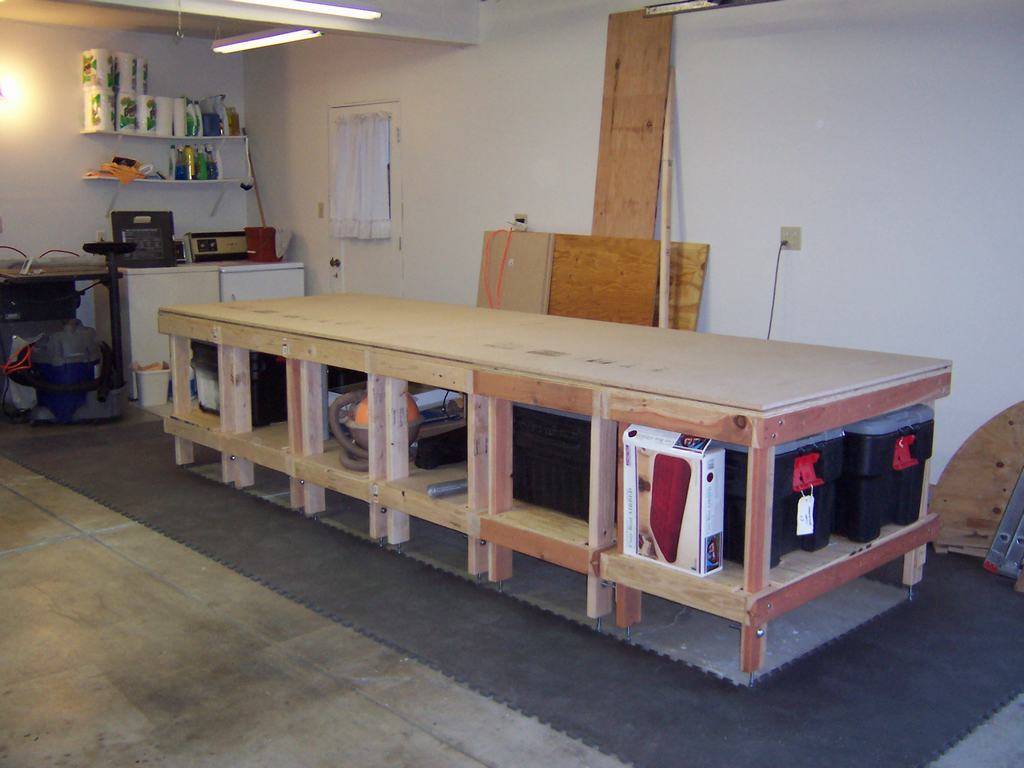
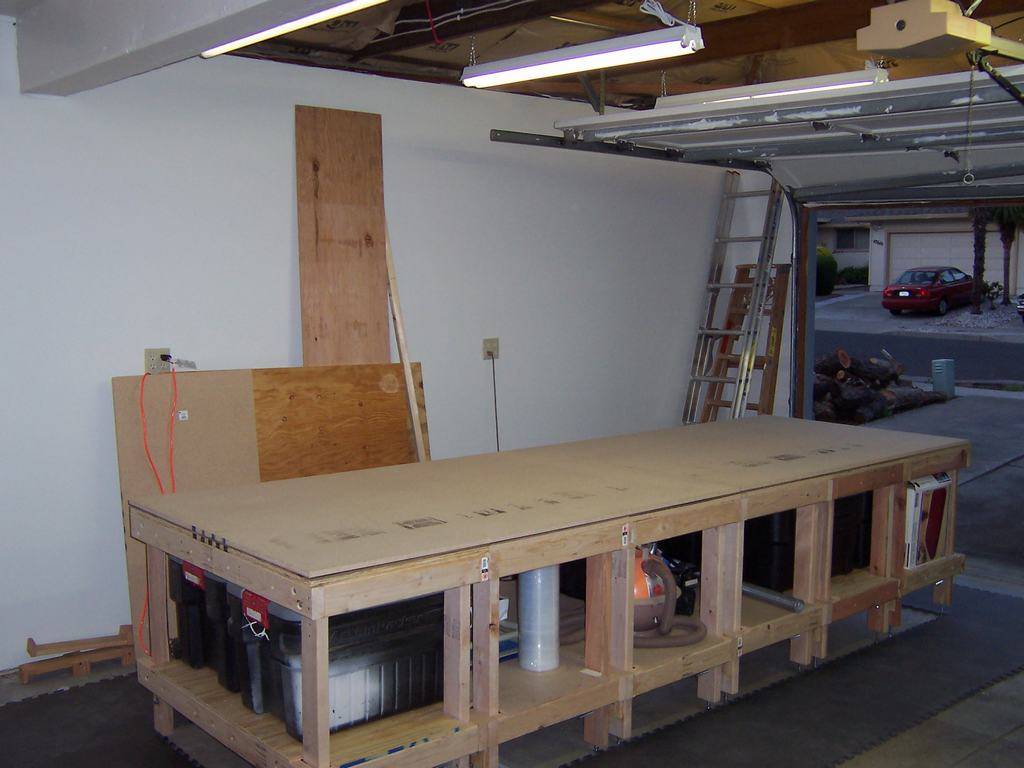
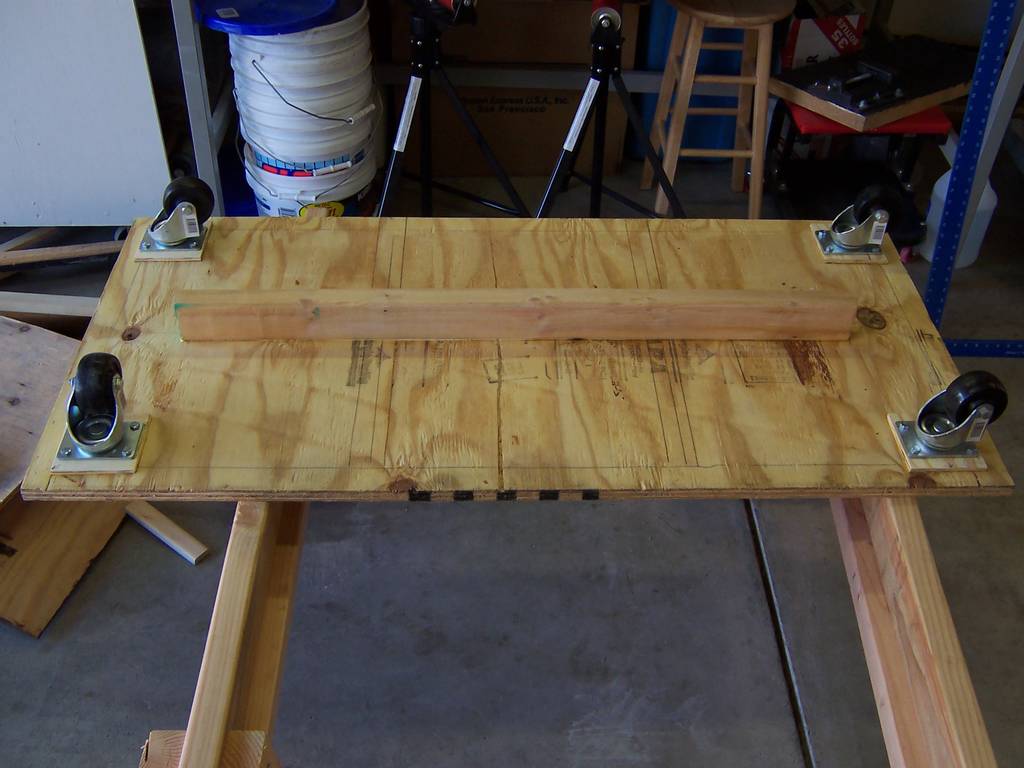
Next came the 4 foot wide by 12 foot long work bench. This is a mighty big bench! I decided to make 6-smaller benches, each 2-foot wide by 4-foot long. The benches would then be put side by side for a 12 foot long bench.
The plans for constructing the benches came from the EAA Chapter 1000 standard work tables. I made two changes to the plans. The first was to make the tables 4 feet long, rather than 5 feet. The second was to add leveling screws to each leg.
One drawback to this design is that it takes about 2-hours to get all of the benches level and at the same height. Fortunately, I have only had to do this a couple of times, basically, each time the bench is moved or rearranged.To remove the discontinuities between the benches when they are butted against each other, I put two 4 x 6 foot sheets of MDF on top. This is not perfect, but it is close enough.
The big advantage of having the smaller benches is they are easy to move around. Also, when not needed, they can be stored along the walls of the factory and leave valuable room in the center for the larger pieces.
|
|
| Note the MDF used for the top | Note there are 6 individual tables |

After completing chapter 6, a large table is not needed for awhile. Having the 6 smaller tables allowed me to rearrange them. I have a 2 foot x 12 foot table along the wall and a 4 foot x 6 foot table perpendicular to the wall. This has been very convenient as there is enough room for the plane to sit on saw horses and yet I still have 2 large tables to use as work benches.
When I get to chapter 14, building the spar, I'll use the table against the wall. When I do the wings, I'll rearrange the tables back to their original configuration, 4 foot x 12 foot. So far, having the 6 separate tables has worked out well and I wouldn't hesitate to do it again.
Fiberglass Rack
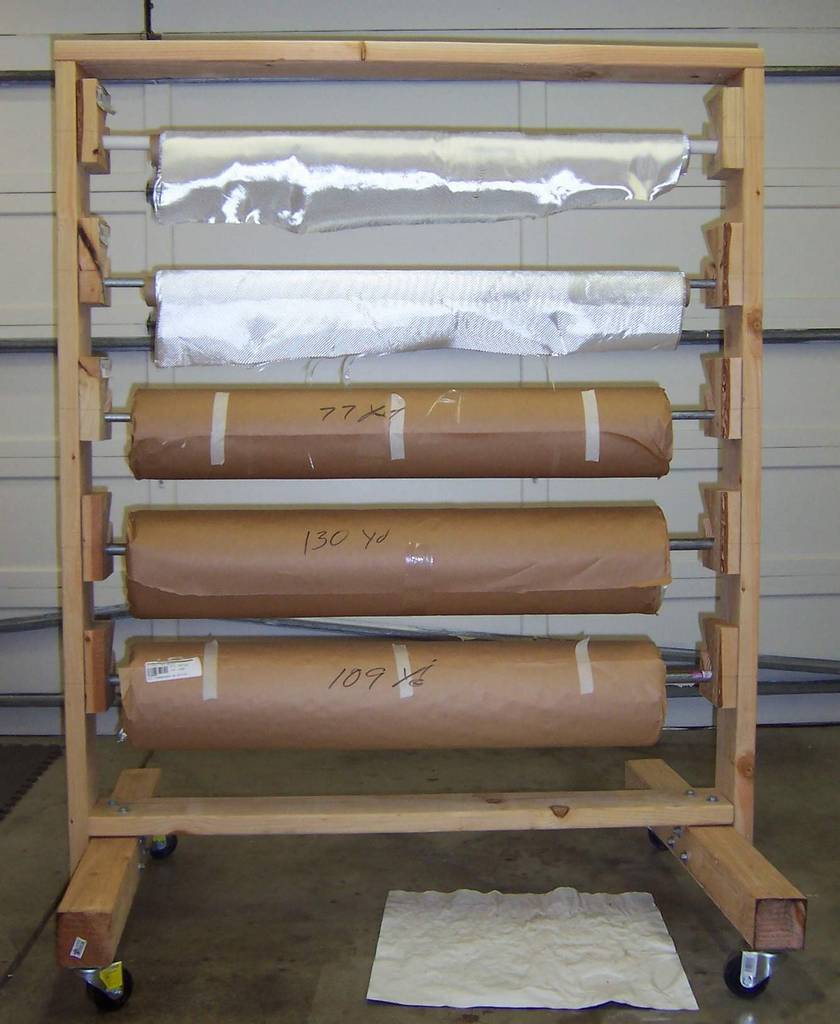
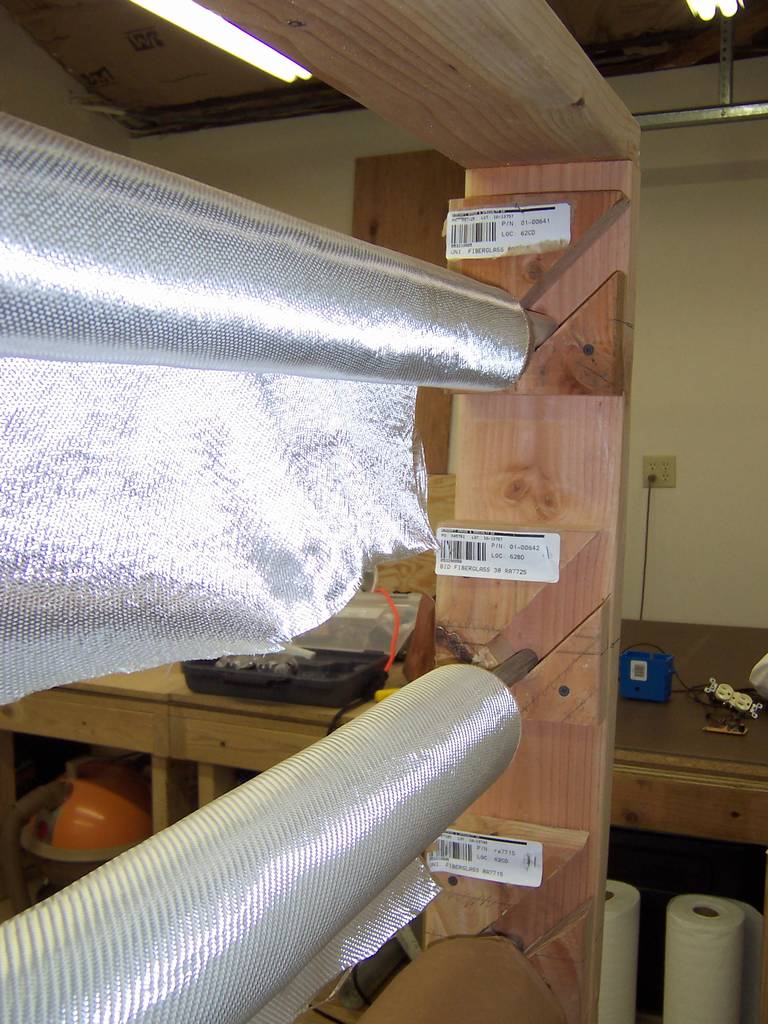
The cloth rack took a bit of thinking about. At first, I wanted to build the standard plans type of cloth cabinet with a built-in table. However, I didn't like the thought of taking up valuable wall space for it. While browsing various web sites, I found Kevin Dove's Cozy website in Perth, Australia. Instead of the standard fiberglass cloth cabinet, he had designed a cloth rack on wheels that can be rolled around. I liked this idea, so I made a similar rack that is 51 1/2 inches wide by 62 inches tall. This size rack will hold 5-rolls of cloth. The 3-feet long support legs have 3-inch wheels attached. To protect the fiberglass from dust and dirt, I found some old USA twin sized flat bed sheets (66 inches wide x 96 inches long) to cover it with. I used 1 1/2 flat bed sheets and sewed them together, end-to-end. The sides were left open to easily take it on and off of the rack.
|
|
| Roll Around Fiberglass rack | Fiberglass Rod Holders |
Epoxy Hot Box
See the Epoxy Hot Box page for an update on my current feelings about this hot box design.
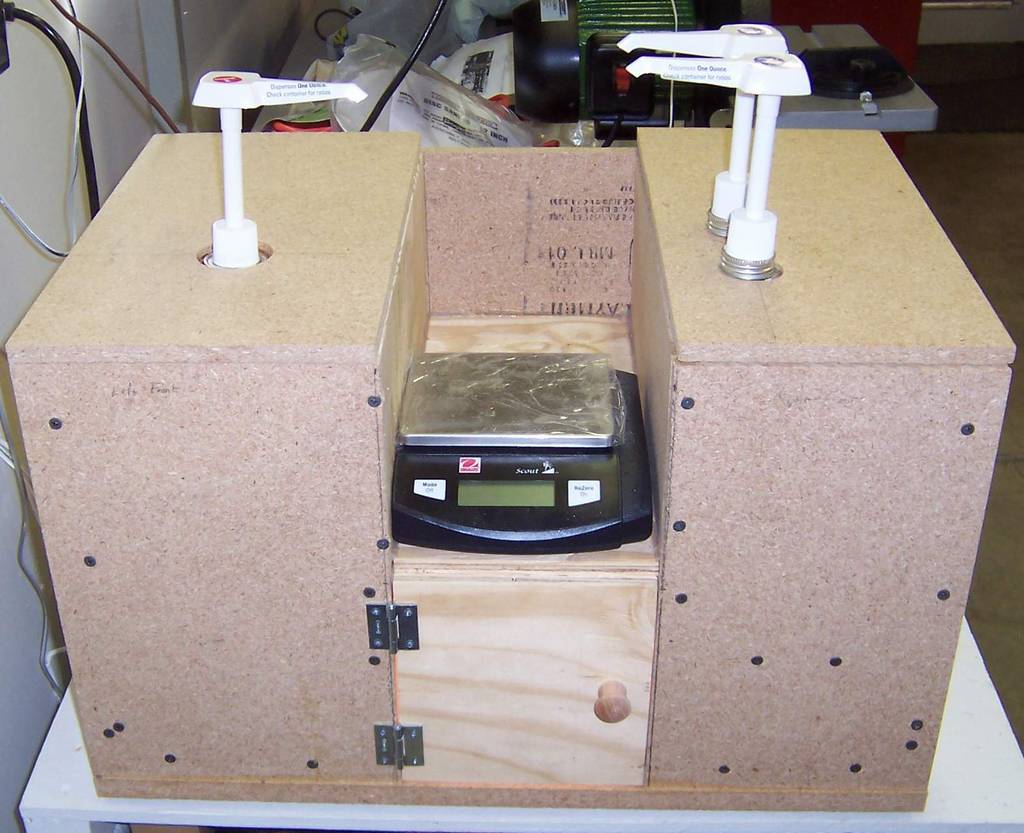
The hotbox was another project. While perusing various websites for epoxy hotboxes, I came across Bernard Siu's Cozy Page. I liked his third design ("Enter Hot Box #3"). So this is the box I decided to build.
|

|
| Epoxy Hot Box | Interior of Epoxy Hot Box |
To control the temperature inside the hot box, I designed a simple thermostat. The original circuit used a TRIAC which was under rated for this application. After a couple of weeks of working successfully, it shorted internally and applied 110 Volts to the 10 Volt comparator IC. As you can imagine, exciting things happened!
|
| Epoxy Box Thermostat |
The schematic for the thermostat and a theory of operation can be found on the Epoxy Hot Box page.
Roll Around Wood Rack
During chapter 6, I needed to move the table around to make room for the Cozy to be on saw horses. I had stacked all of my unused wood along one wall of the factory. It was time to move this pile of wood and reclaim that valuable space.
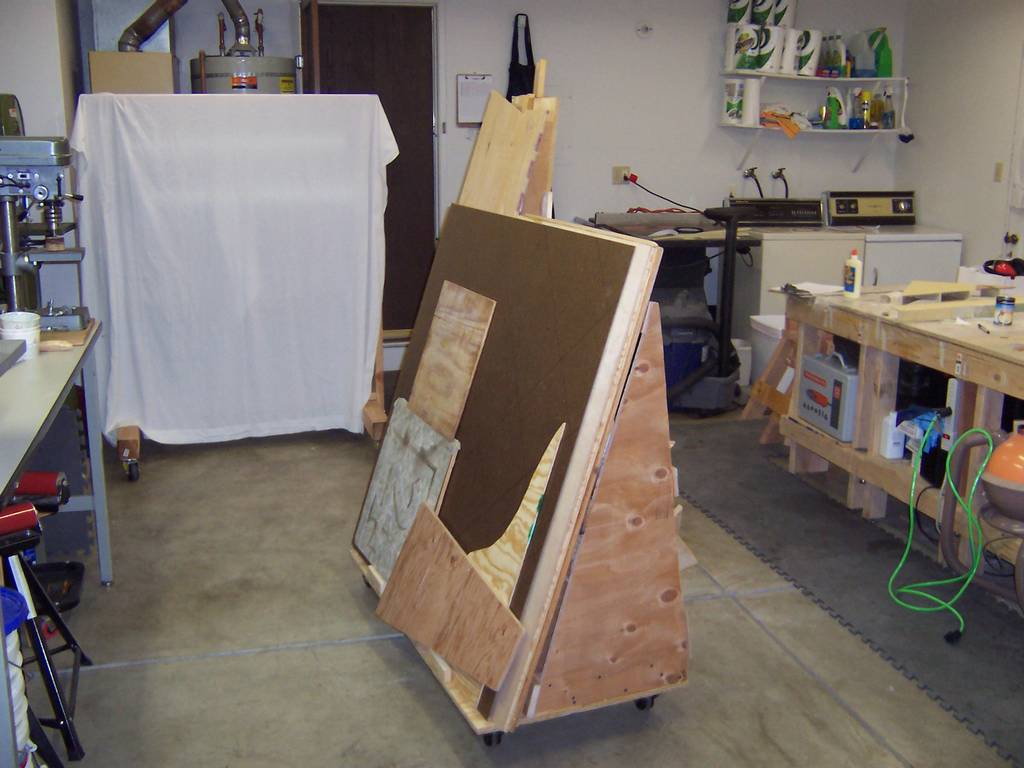
The wood rack was designed to hold large sheets of plywood on one side and long sticks of wood & small scraps on the other side. The pictures below show how it was made and the finished product.
|

|
| Bottom of wood rack showing the wheels and the center brace. | Side of the wood rack with the long sticks of wood and small scraps. |
|
| Side showing how the large panels are stored on the rack. |
Hot Wire Saw
The hot wire saw was built when I reached chapter 10.
The hotwire tool was made using the method described in the education chapter. I did get lucky on the power suppy. Jeff had a transformer which was designed to increase a 220 Volt line to 240 Volts. I didn't know it, but this is a very common type of transformer. It is mostly used for industrial purposes. To give you an idea of what it is, I am posting a picture of the label of the transformer.
To control the voltage applied to the hot wire, Jeff purchased a $5 light dimmer from Home Depot. He wired this into the primary side (the side that is plugged into the wall). We found the ideal setting of the dimmer was just at about 75% of the maximum amount. I must say, it worked great!

Hot wire power transformer and the inexpensive Home Depot light dimmer used to control the voltage output of the transformer

Close up of the label on the transformer. This is a common transformer used to boost 220 Volts to 240 Volts.
Heat Tent
The weather in Northern California is very mild most of the year. Between October to June, the temperature is in the 50s and 60s degrees Farenheit. During the Summer it gets quite warm, however, the evenings always cool down to the 60s. Even though it is comfortable for me, it can be a bit chilly when curing epoxy.
To allow the epoxy to cure in a reasonable amount of time, I built a heat tent to keep the curing parts warm. The tent consists of several pairs of wooden boards which are attached to the work table. The attachment is a single bolt with a wing nut on it. The board is long enough to contact both the top and the bottom of the table. It also extends about 4-feet above the table. The top of the board has a notch in it.
I made some cross pieces to fit into notches at the top of each board. Over the support structure, I place a cheap tarp. Under the tarp, is a small quartz heater. Even though it is small, it puts out enough heat to keep the inside of the tent at 80 degrees, which is warm enough to cure the parts.

This is the support structure for the heat tent.

With the tarp in place, a nice, large area is enclosed.

This is the quartz heater I use. It was given to me by friends many years ago.

Close up of the controls for the quartz heater.