Page updated on: March 8, 2016
Chapter 20 - Winglets & Rudders
Quick links within this page:
Step 1 - Cutting the cores
Step 2 - Glassing the skins
Step 3 - Jigging upper winglet to wing
Step 4 - Inside layups
Step 5 - Outside layers
Step 6 - Lower winglet attach
Step 7 - Rudder
Chapter Overview
In this chapter I will build the NASA Whitcomb winglets. I will carve and glass the cores, install the top winglet on the wing, then install the bottom winglet, cut out the rudders and hook up the rudder controls. The upper winglet has undercamber facing outboard. The lower winglet has undercamber facing inboard. In flight, the winglets eliminate the vortex rotation which normally occurs at a wingtip. This increases the effective aspect ratio, and results in increased efficiency in climb and cruise.
Step 1 - Cutting the cores
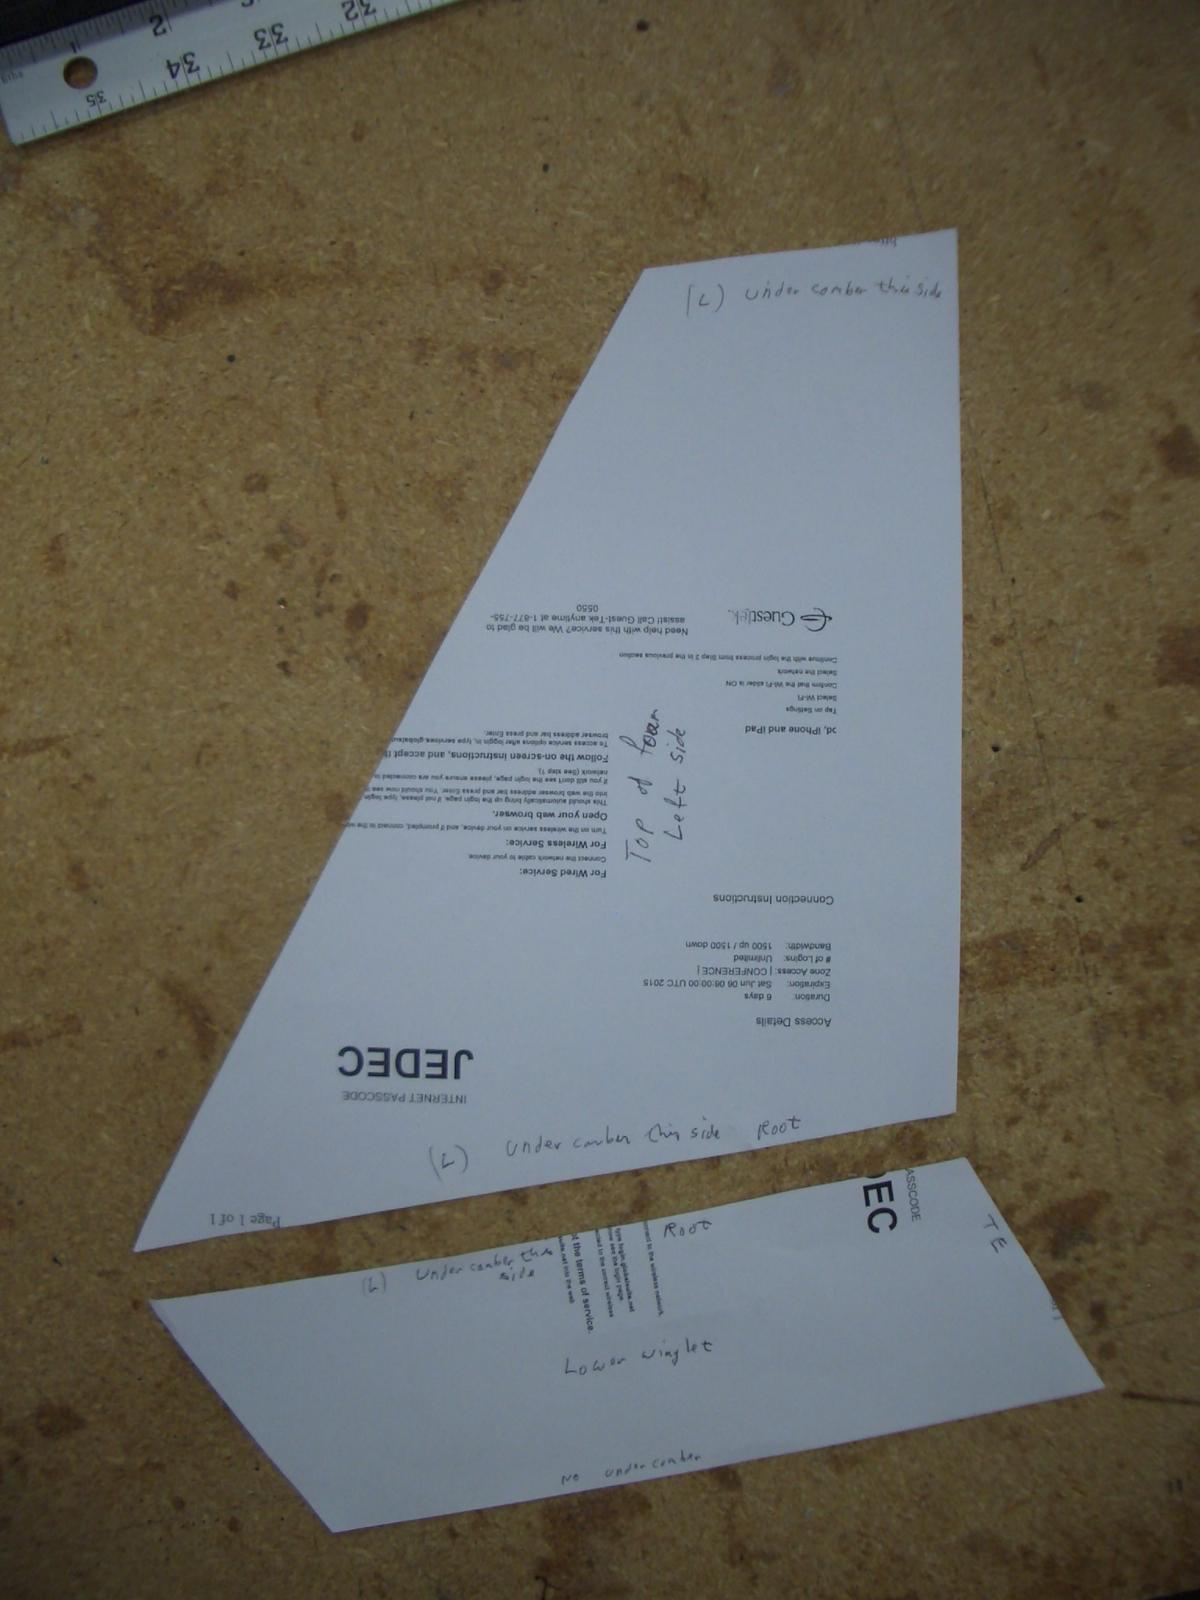
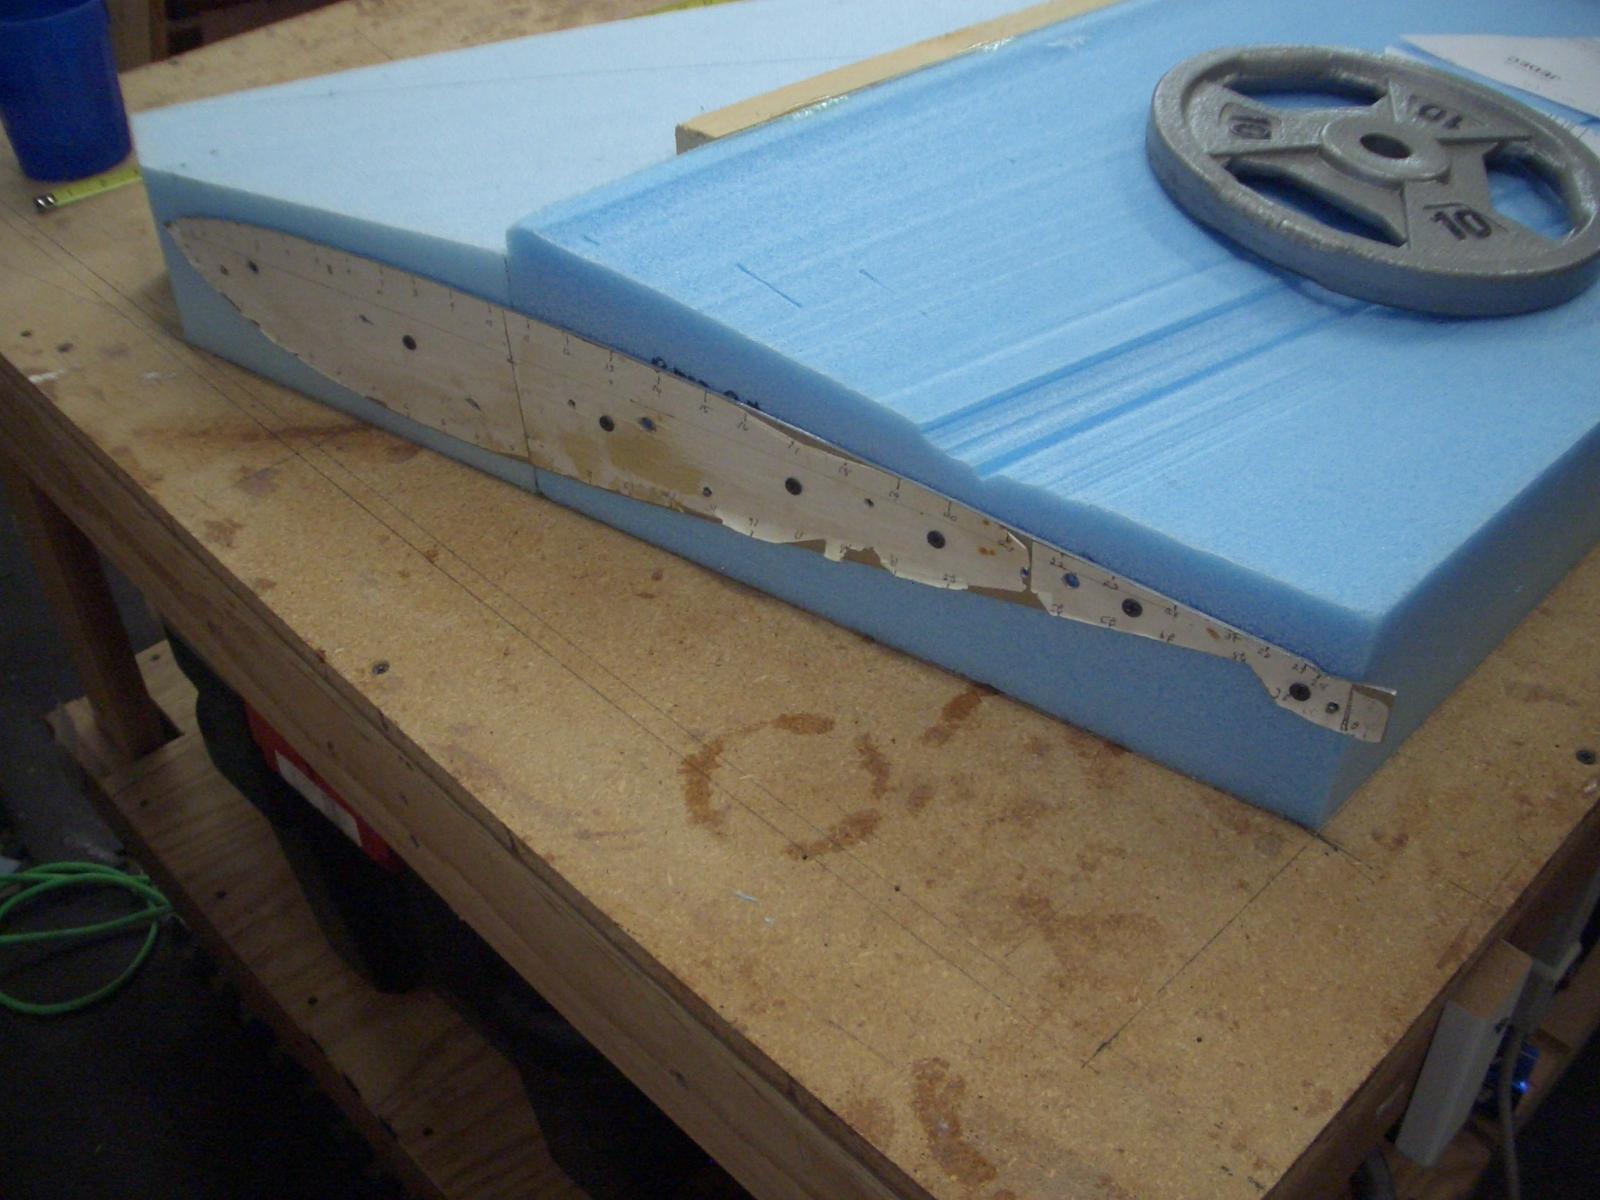
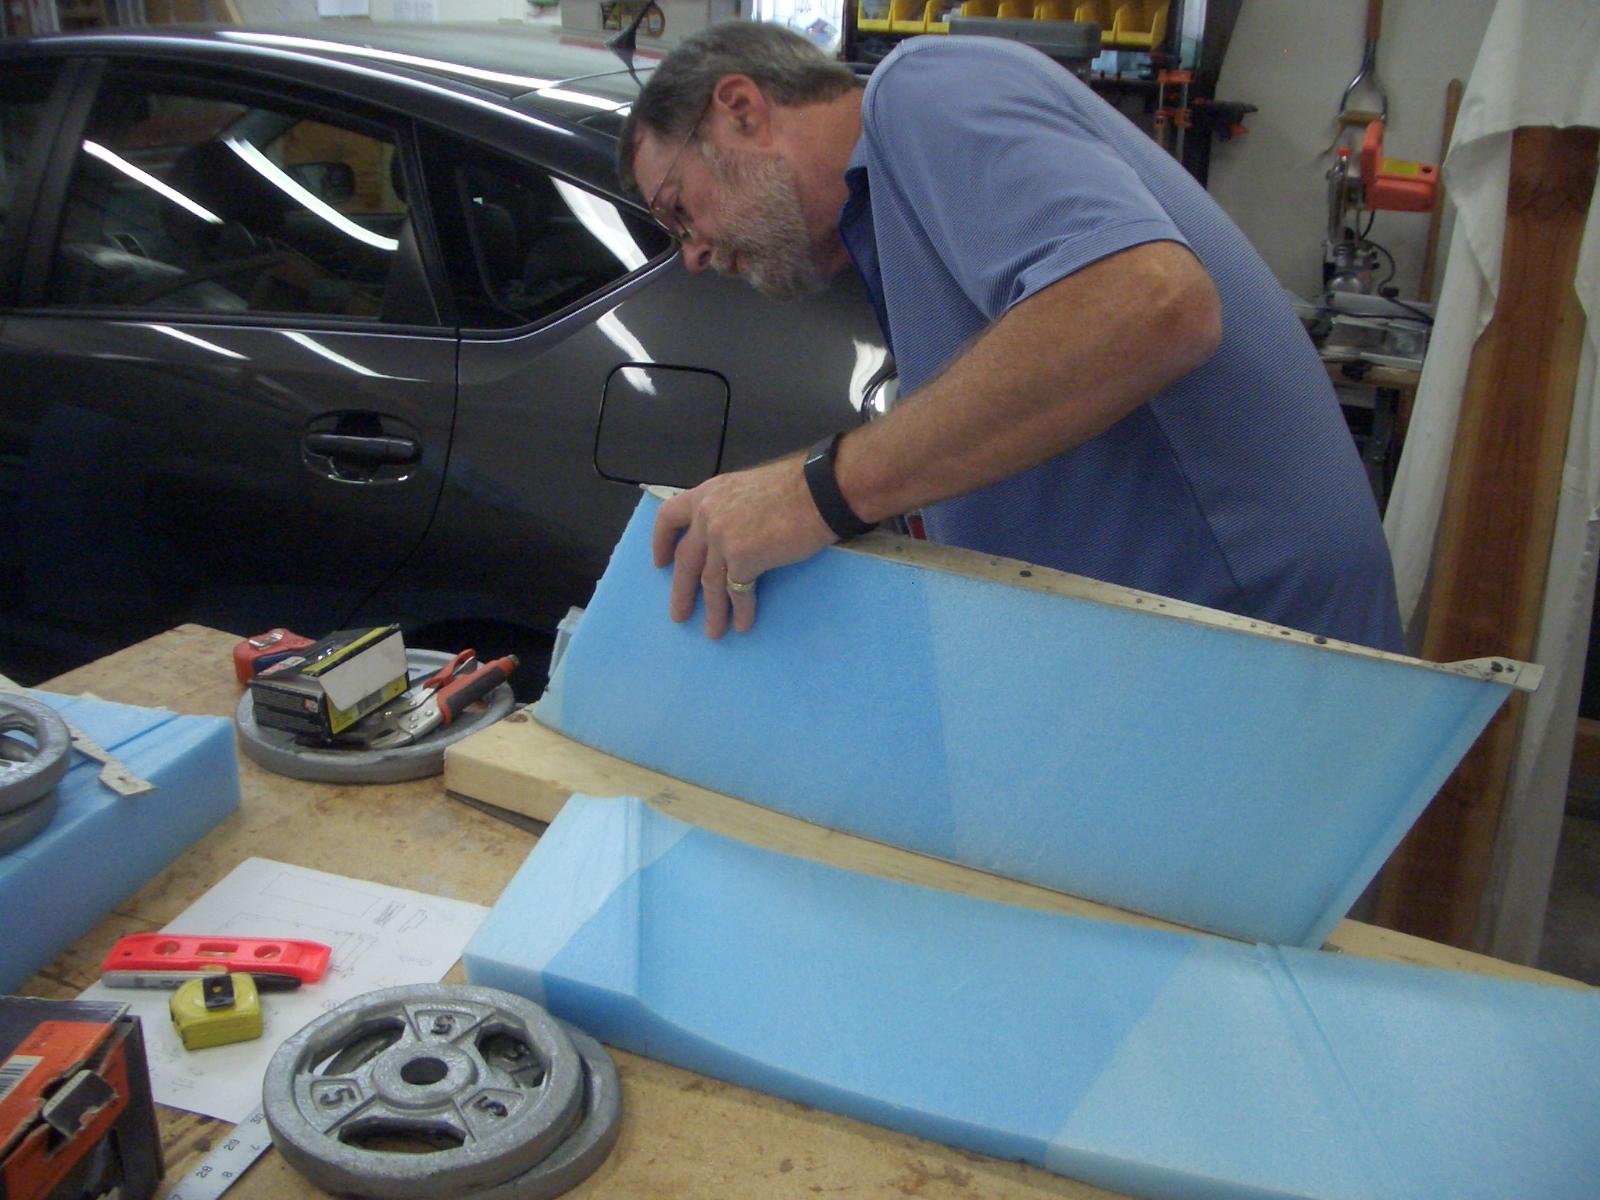
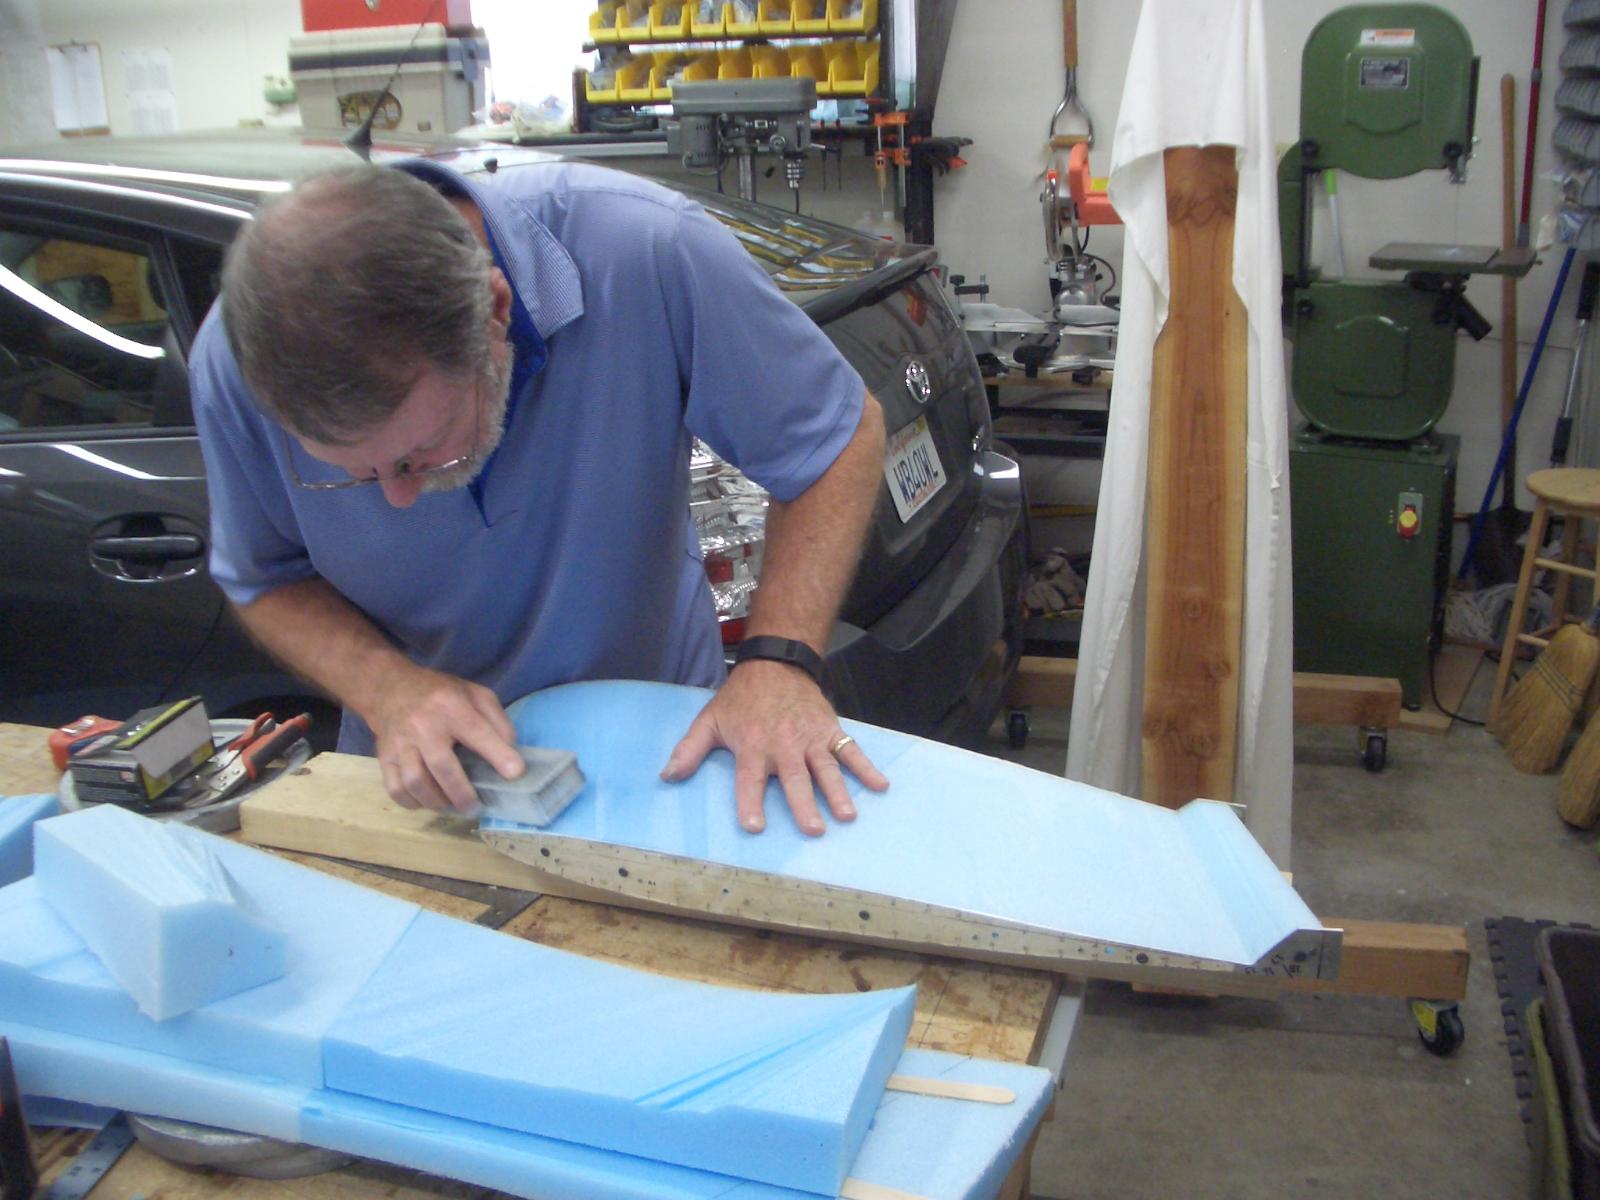
The winglets are hotwired in a similar manner as the wings. Since I had the templates for the winglets and all of needed foam, I hot wired them at the same time as I was hot wiring the wings.
I found the instructions confusing for this step. Trying to figure out which side of the winglets was cambered (the side with the most curvature) and which side was under-cambered (the flatter side) for each winglet confusing. After I had hot wired the foam, Marc Zeitlin posted a response on the Cozy Builder's GoogleGroup mailing list to another builder's question on the same subject, which I really liked. He said:
"Think about it this way - imagine that the upper winglet is horizontal and just an extension of the main wing - the flatter side is facing down, just like on the main wing. Then bend the winglet up into it's real position - the top surface now faces in, and the bottom surface out."
"Now do the same logical thought experiment with the lower winglet - bend it down, and the flatter side faces inboard (to the extent that it doesn't have to match the upper winglet at the wing intersection".
Step 2 - Glassing the skins
Details of step will go here
Step 3 - Jigging upper winglet to wing
Details of step will go here
Step 4 - Inside layups
Details of step will go here
Step 5 - Outside layers
Details of step will go here
Step 6 - Lower winglet attach
Details of step will go here
Step 7 - Rudder
Details of step will go here


