Page updated on: June 1, 2015
March 8, 2016
Chapter 24 - Armrests, Seats & Fairings
Quick links within this page:
Step 1 - Map pockets
Step 2 - Front armrests
Step 3 - Front seat thigh supports
Step 4 - Rear seat armrests
Step 5 - Heat duct cover
Step 6 - Back seats
Step 7 - Landing brake and battery cover
Step 8 - Canard cover
Step 9 - Strake fairings
Step 10 - Wing centerspar seal
Step 11 - Optional ice shields
Chapter Overview
This chapter covers the manufacture and installation of:
- map pockets
- front seat armrests
- front seat thigh supports
- back seats
- back seat armrests
- back seat thigh supports
- heat duct cover
- landing brake cover
- battery bulkhead cover
- canard cover
- cylinder blister fairings
The front and back seat armrests, heat duct cover and landing brake cover require a lot of fussing fitting which is very time consuming.
Step 1 - Map Pockets
In this step the map pockets are made and then installed. I made the map pockets to the size specified in the plans. When I went to install them, I discovered they were several inches too high. I double-checked all my measurements and they were spot on. What I plan to do is to trim them to size after the arm rests are installed.
Step 2 - Front Armrests
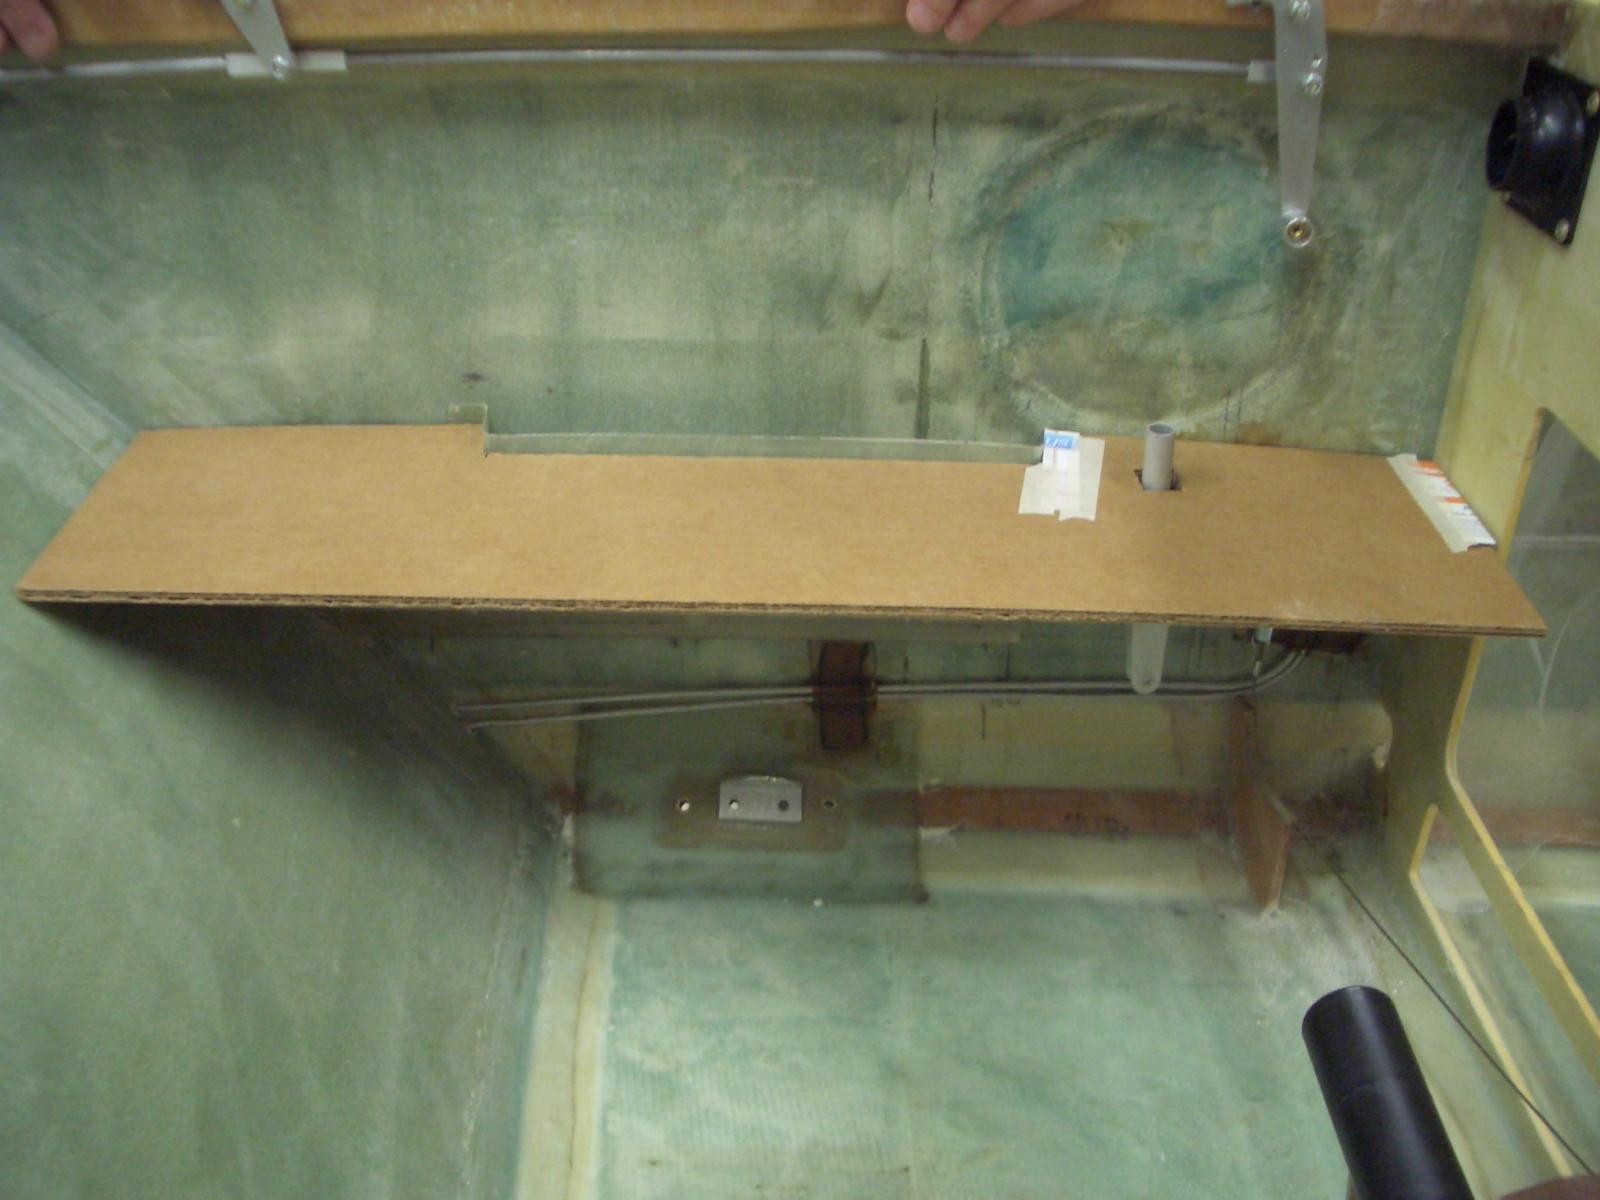
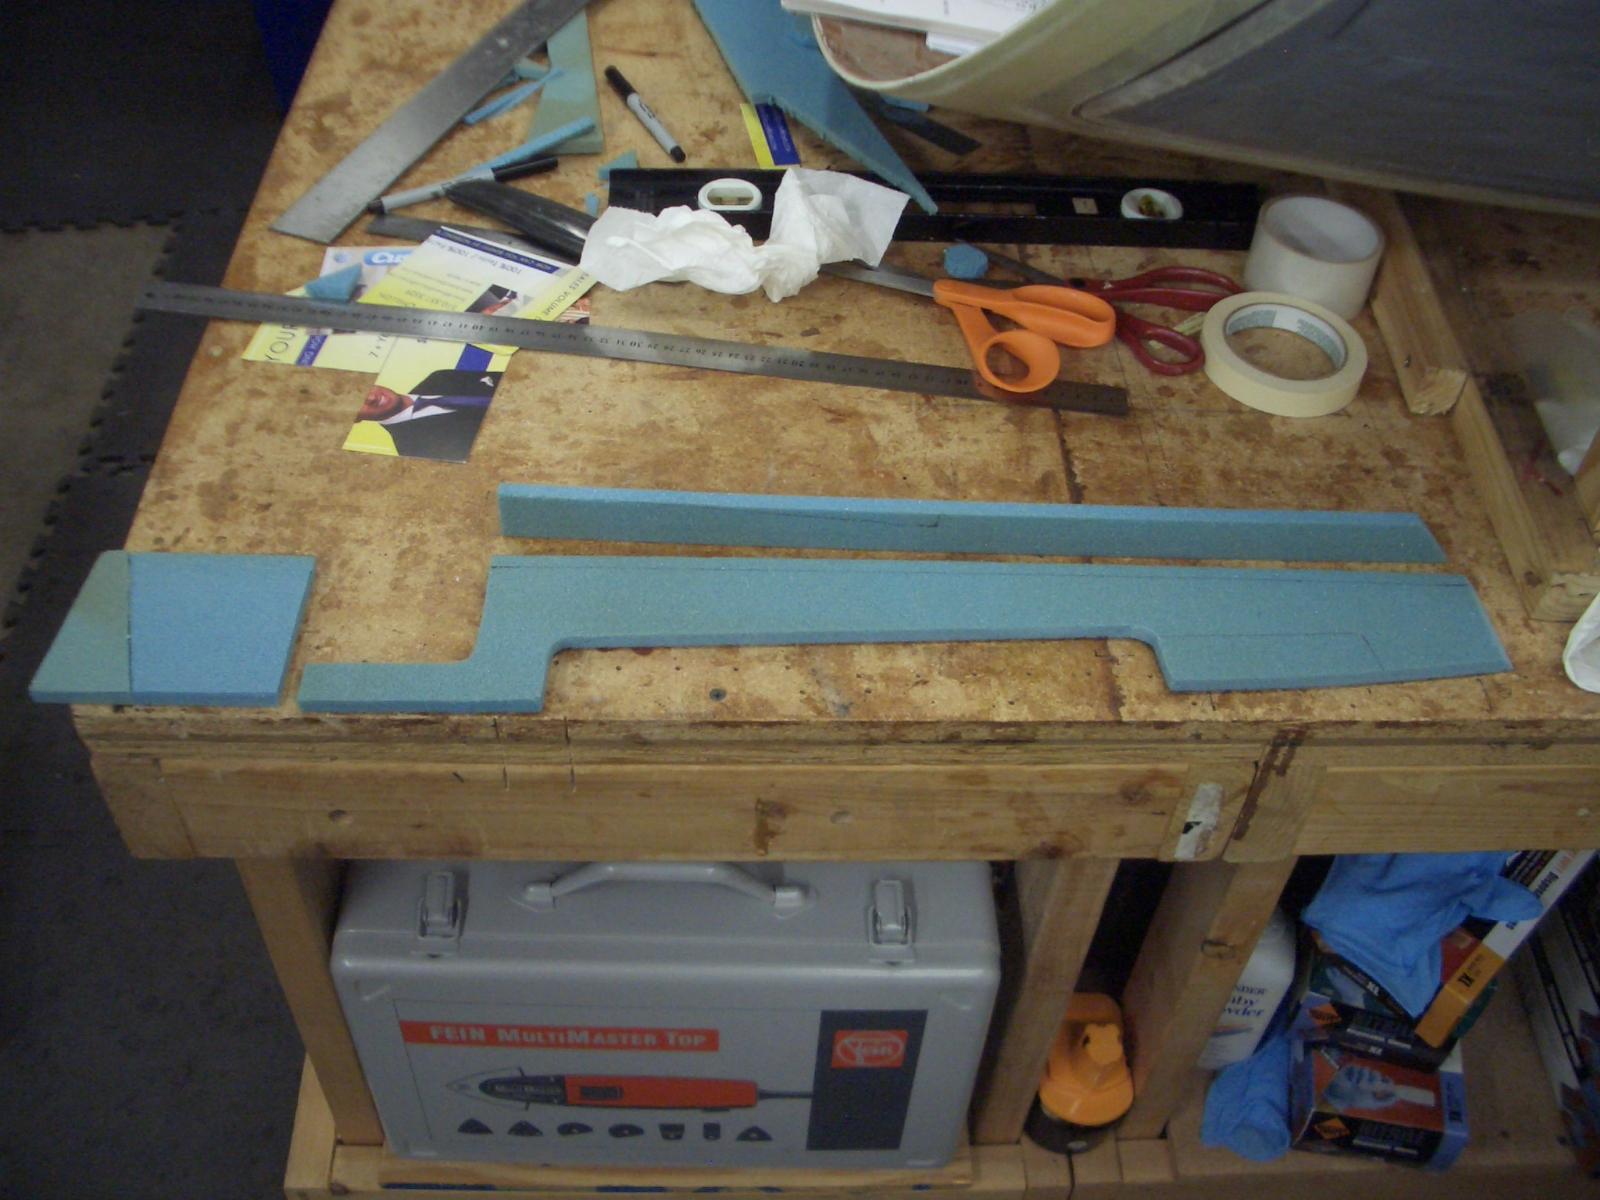
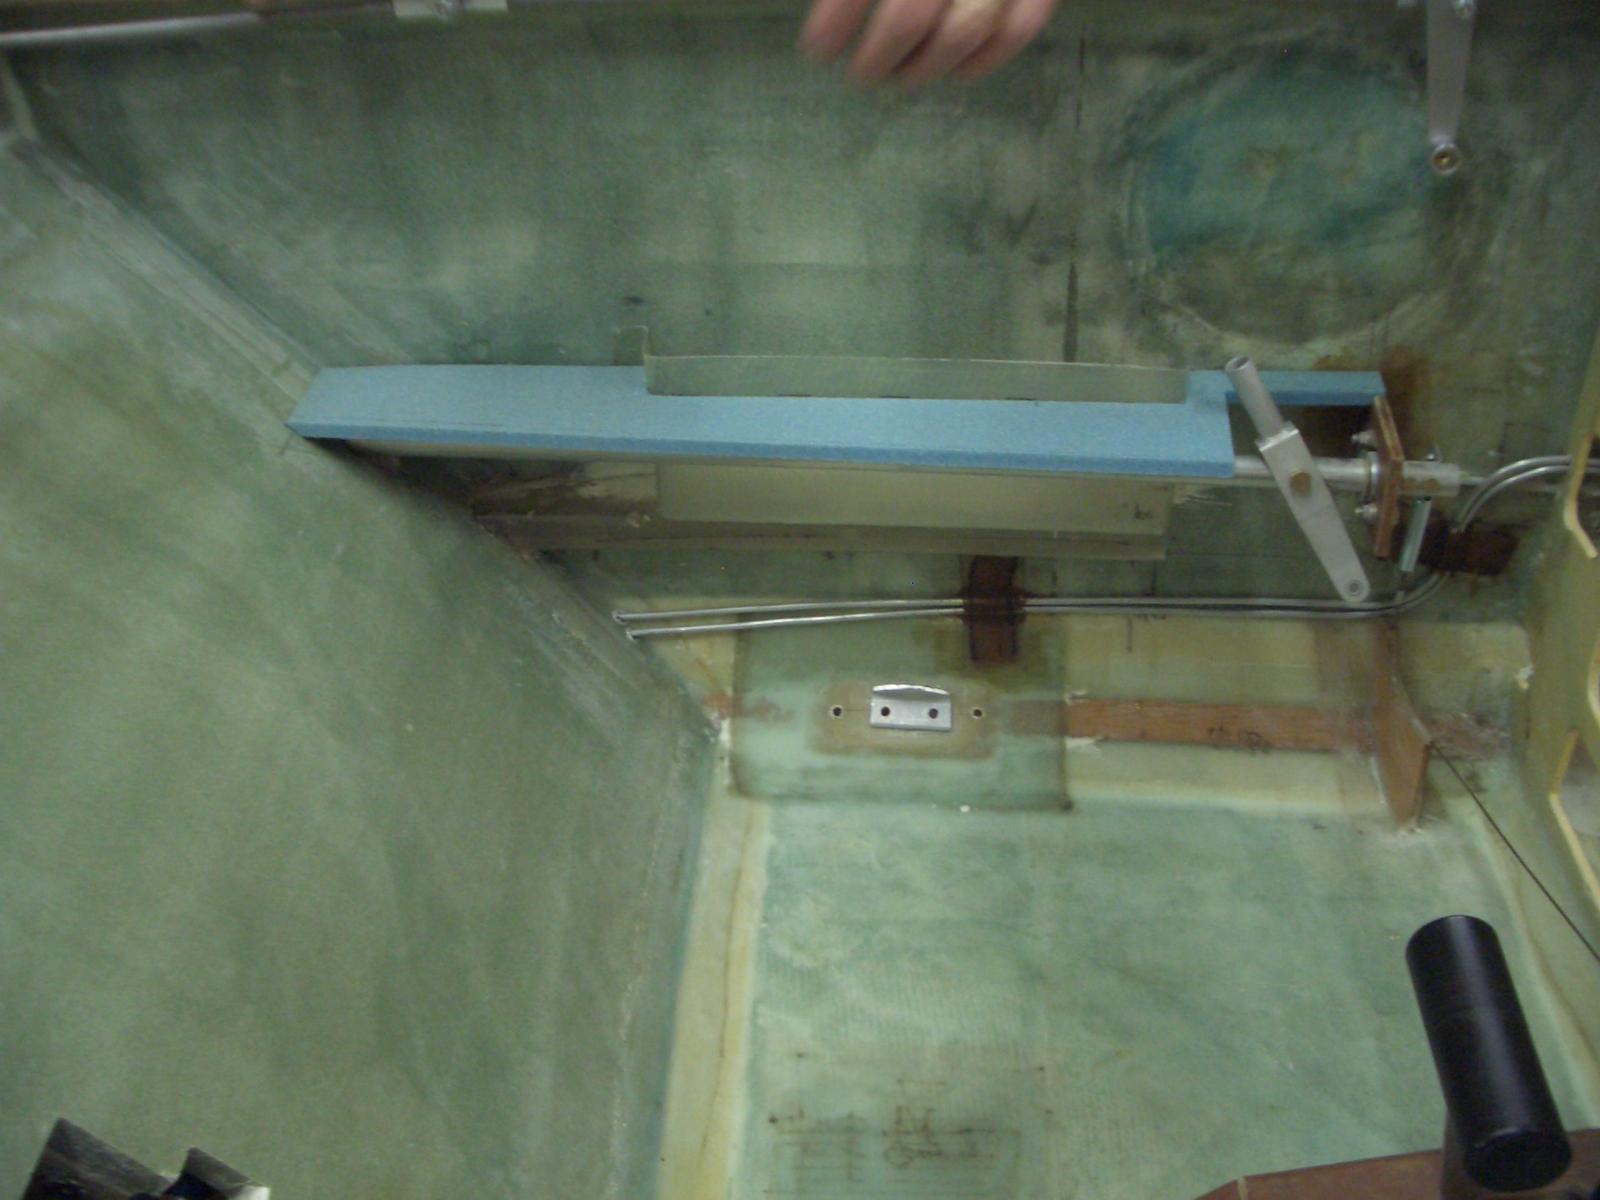
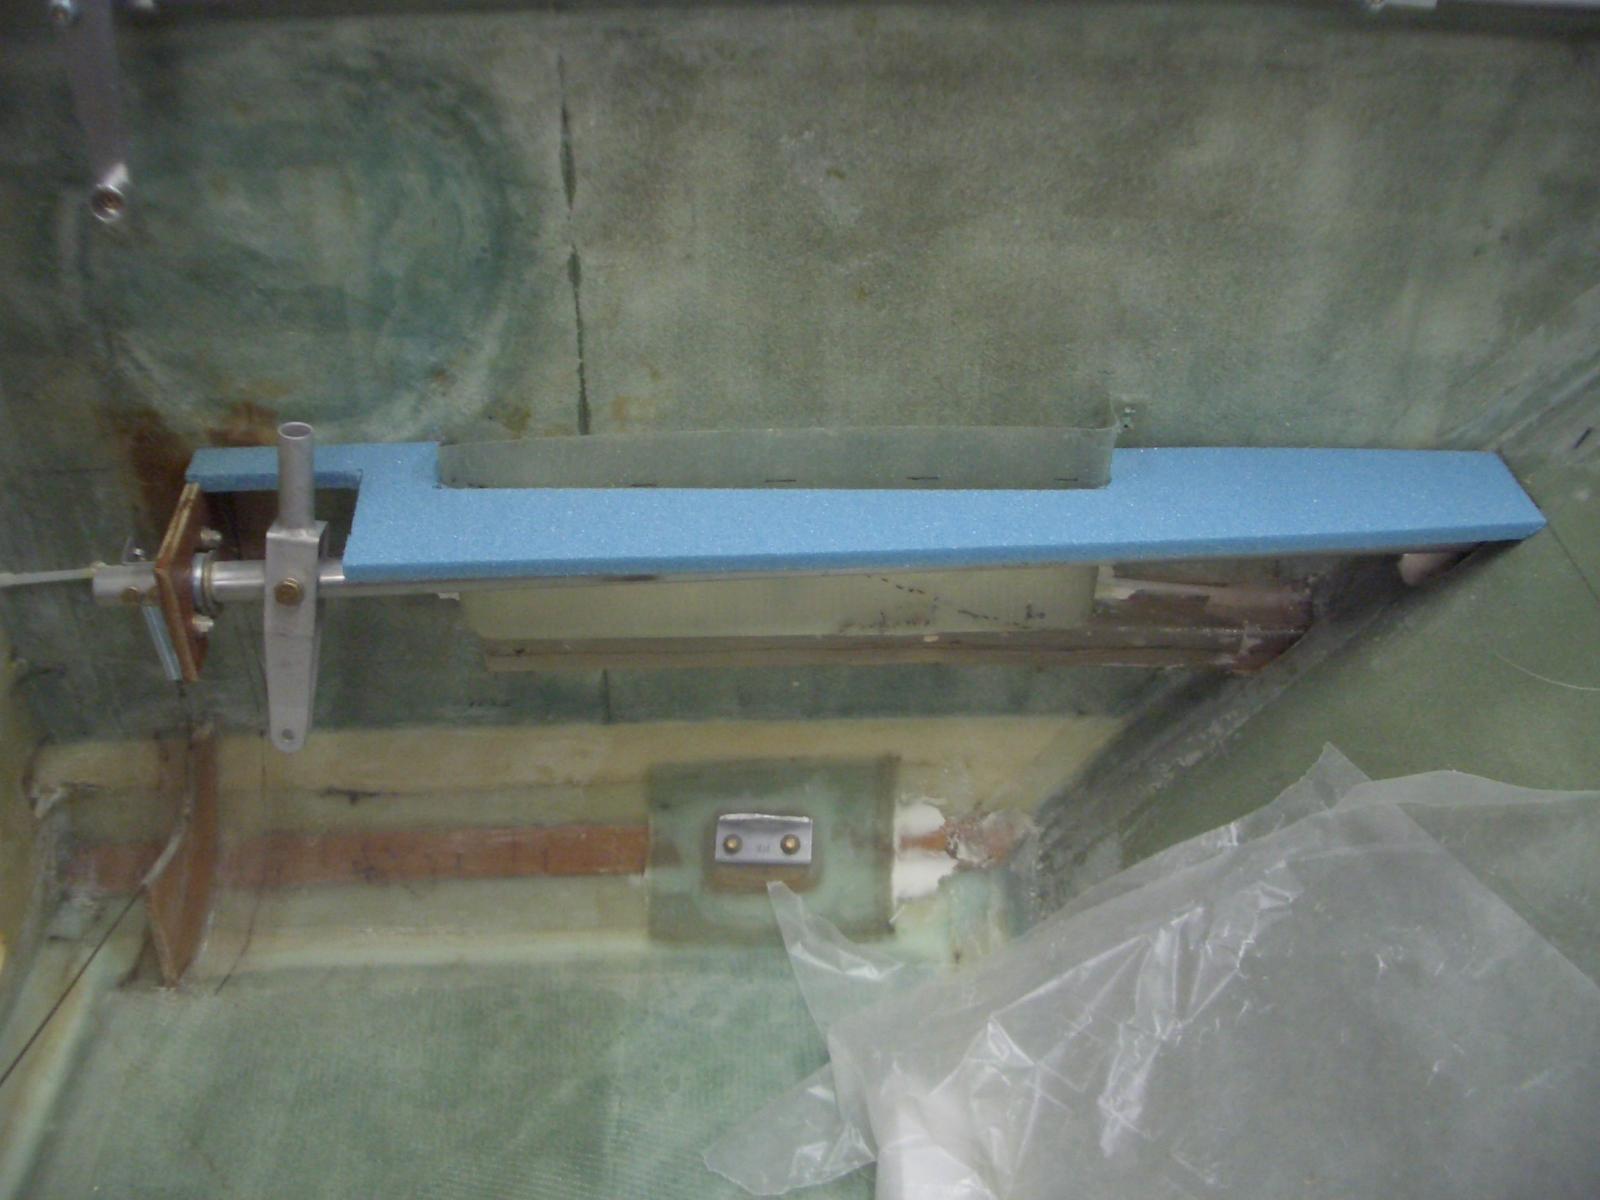
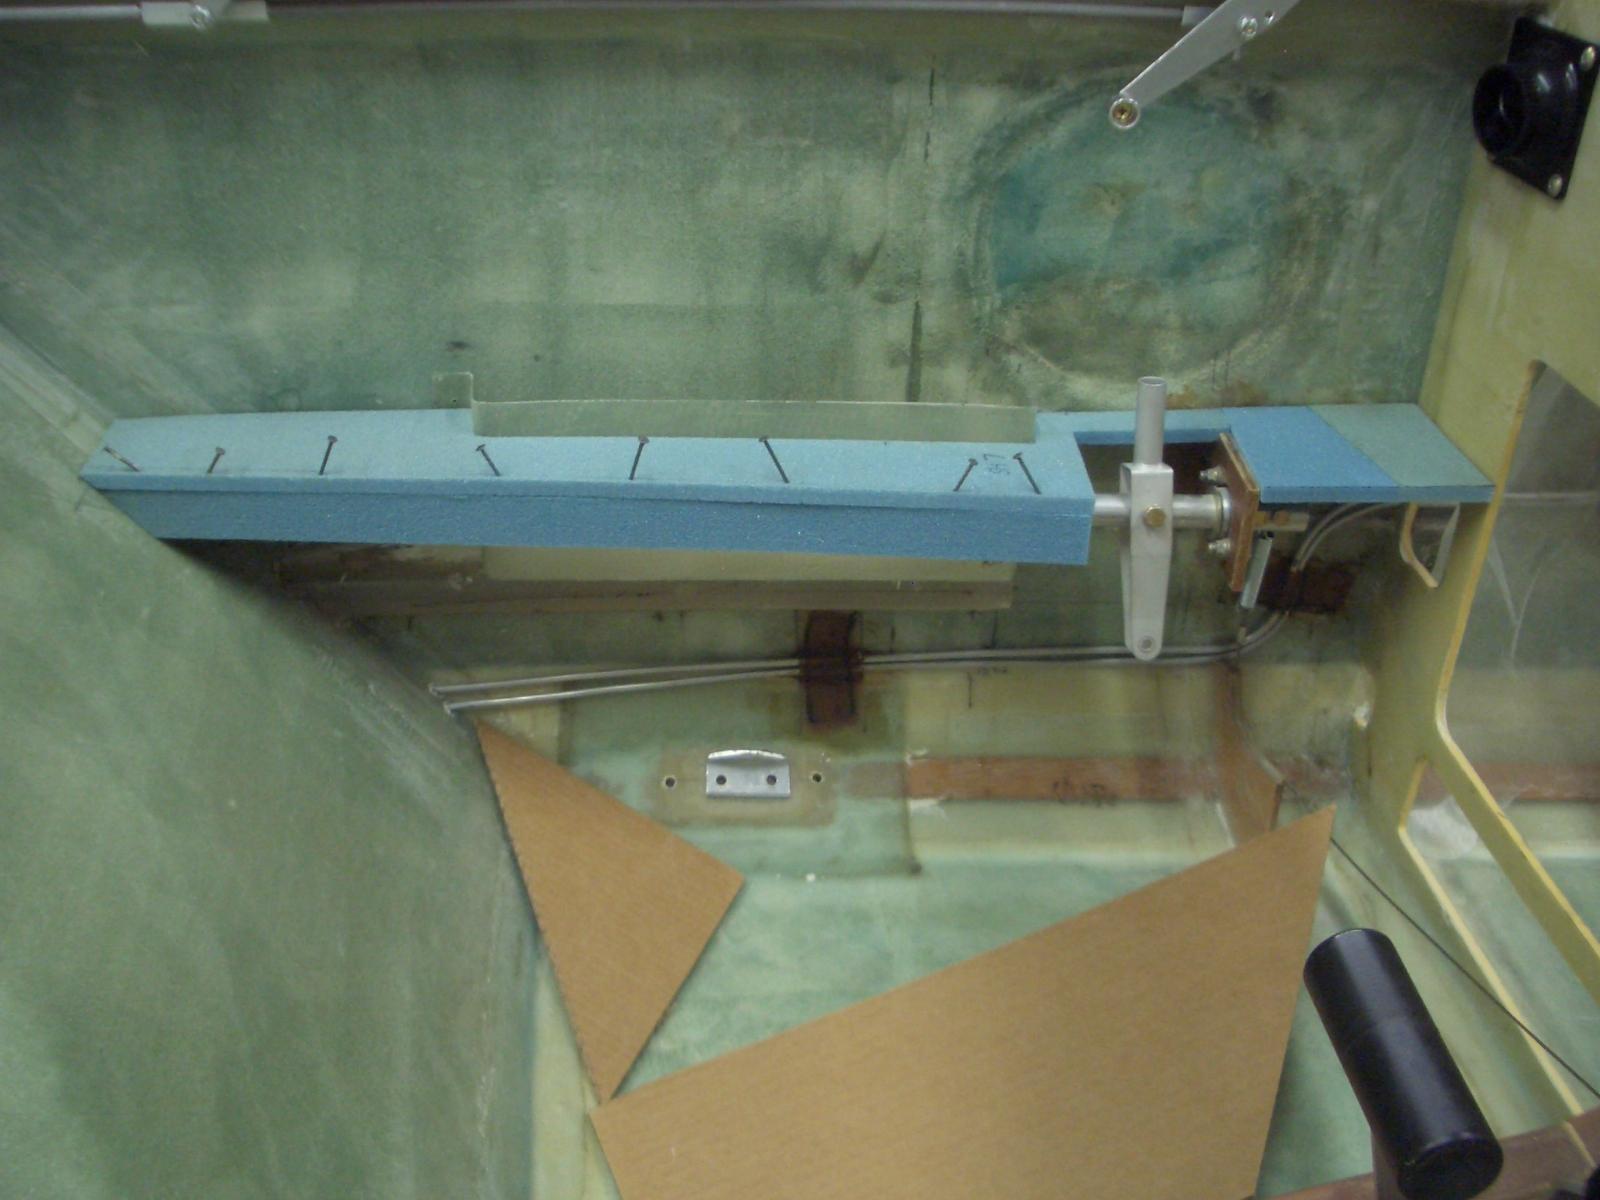
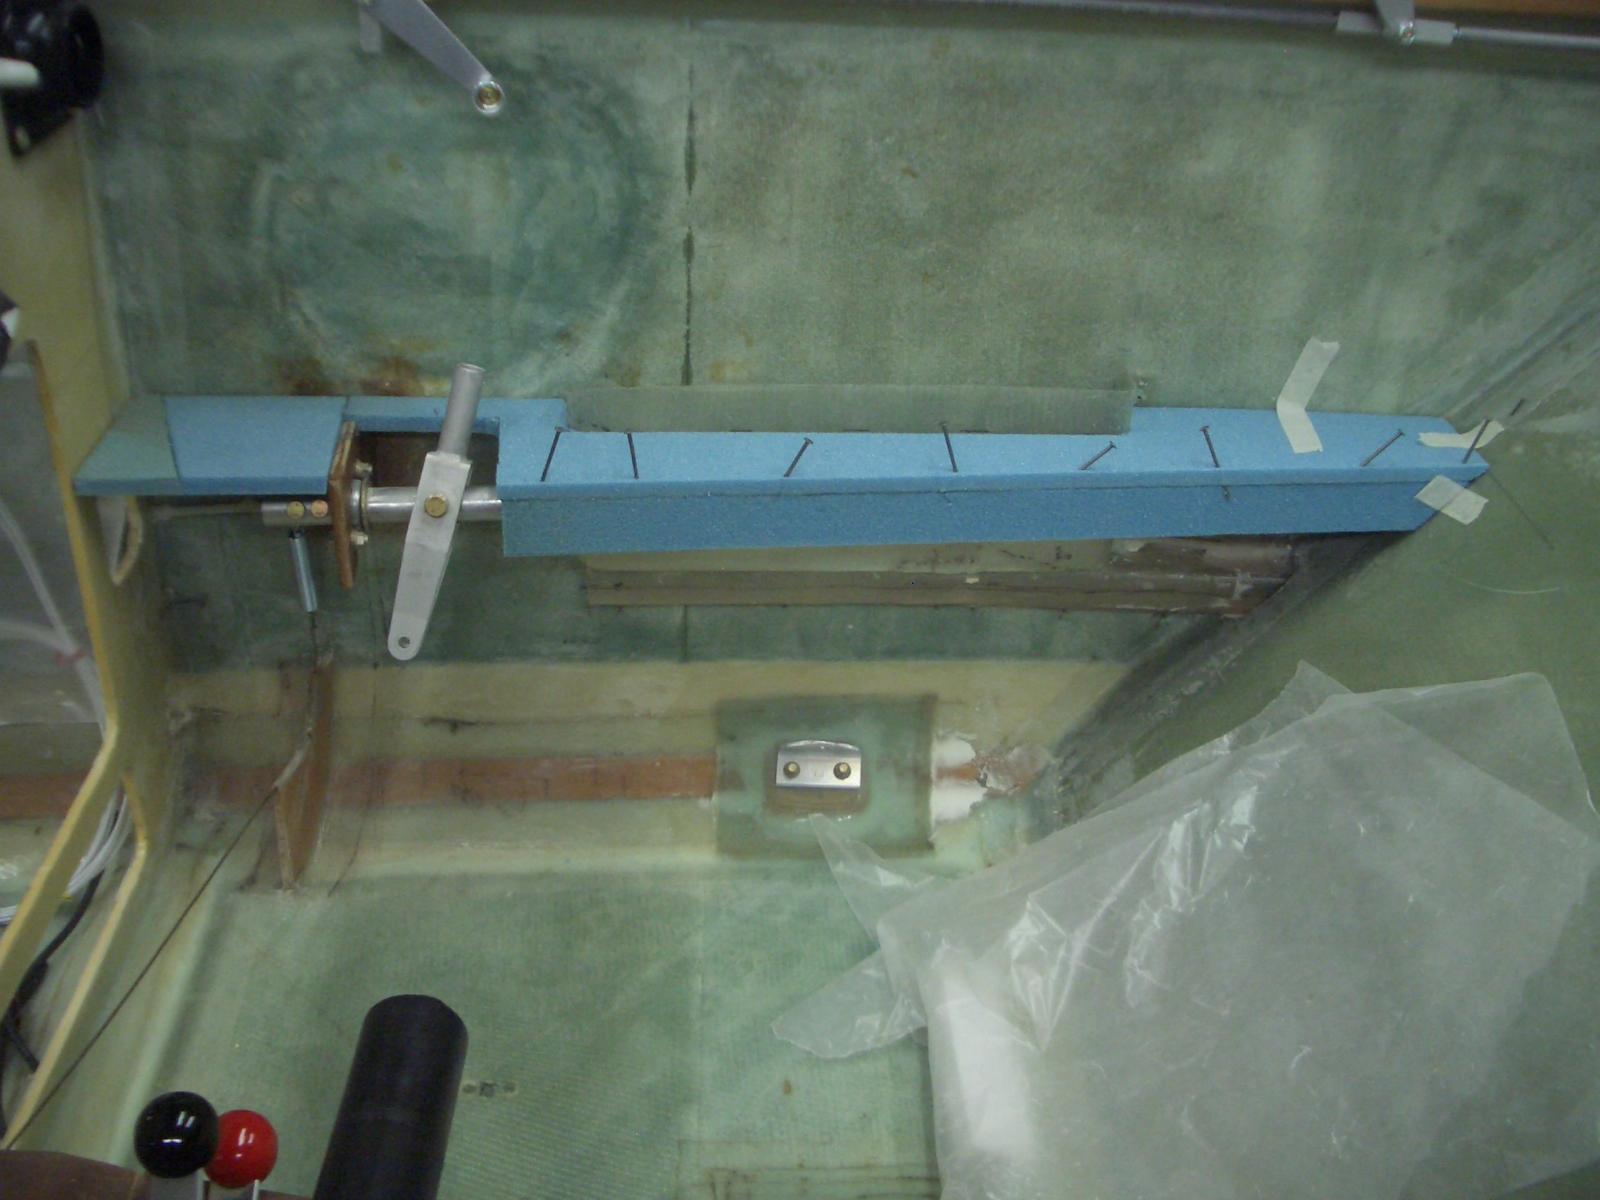
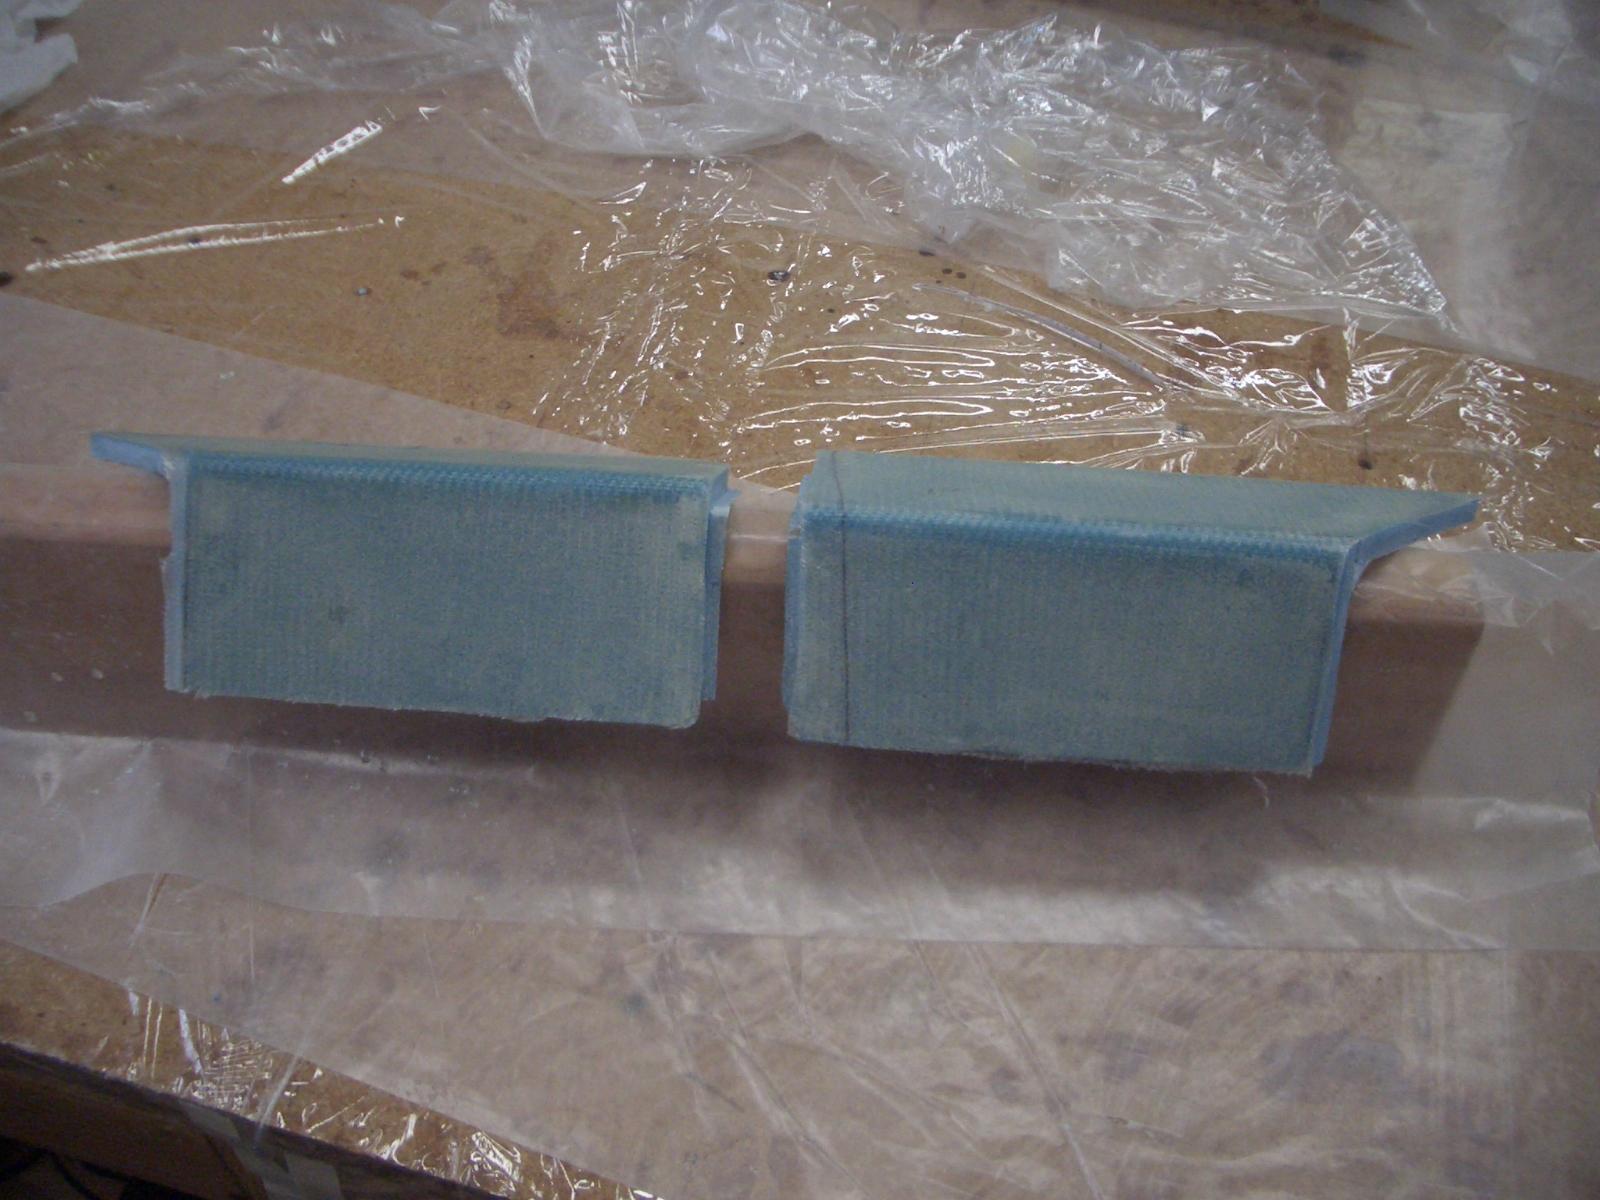
The arm rests are real "fiddly" structures. The top of them are easy to make. The one inch vertical piece used to clear the aileron torque tube is easy. The angled piece which goes from the bottom of the 1 inch vertical piece to the side of the fuselage is real fiddly. I have spent several hours using cardboard templates trying to get it correct. The problem is the side of the fuselage curves and the width of the armrest changes. Also, you must contend with the angled seatback. Making a piece to fit this area and look good has been challenging.
Step 3 - Front Seat Thigh Supports
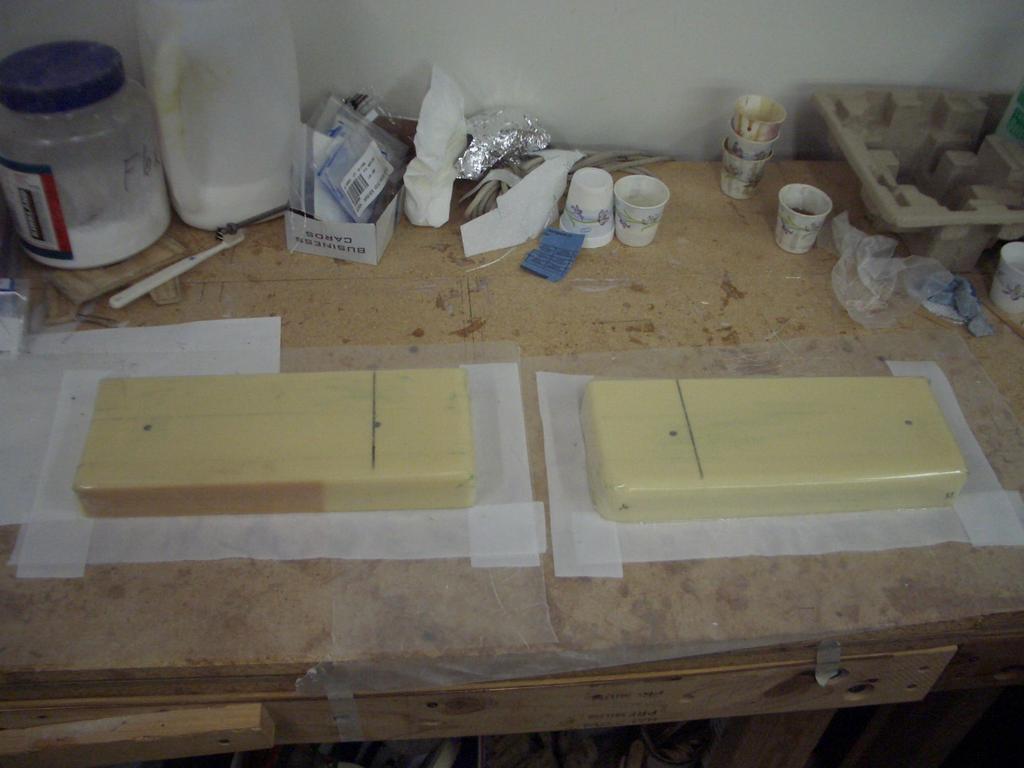
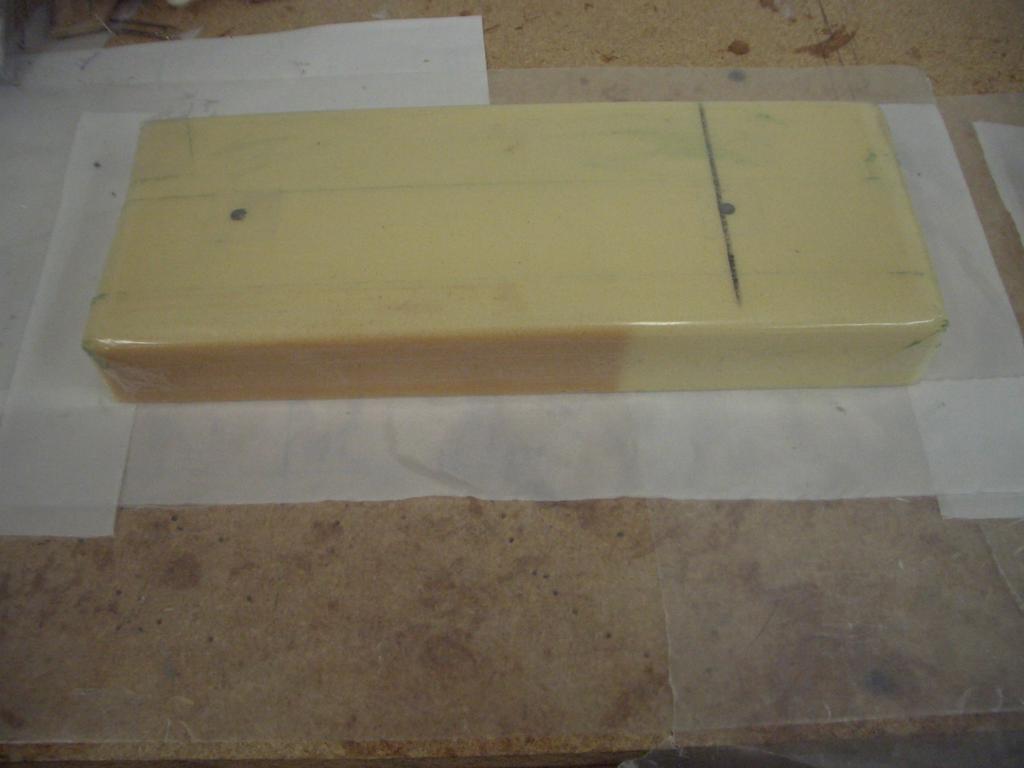
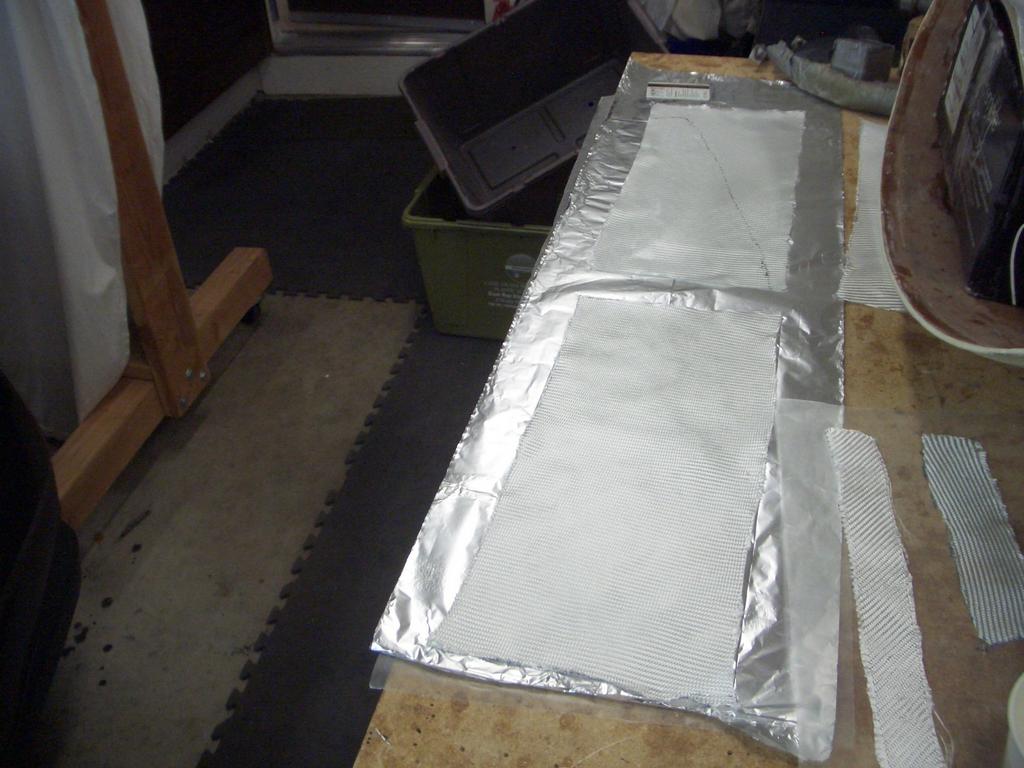
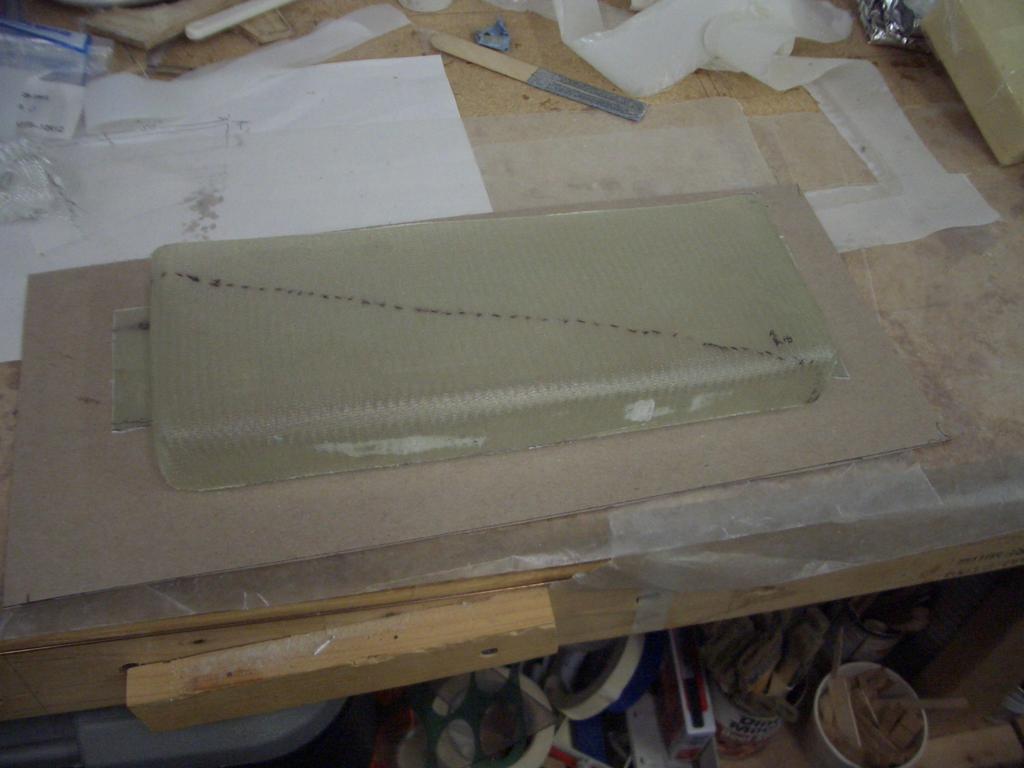
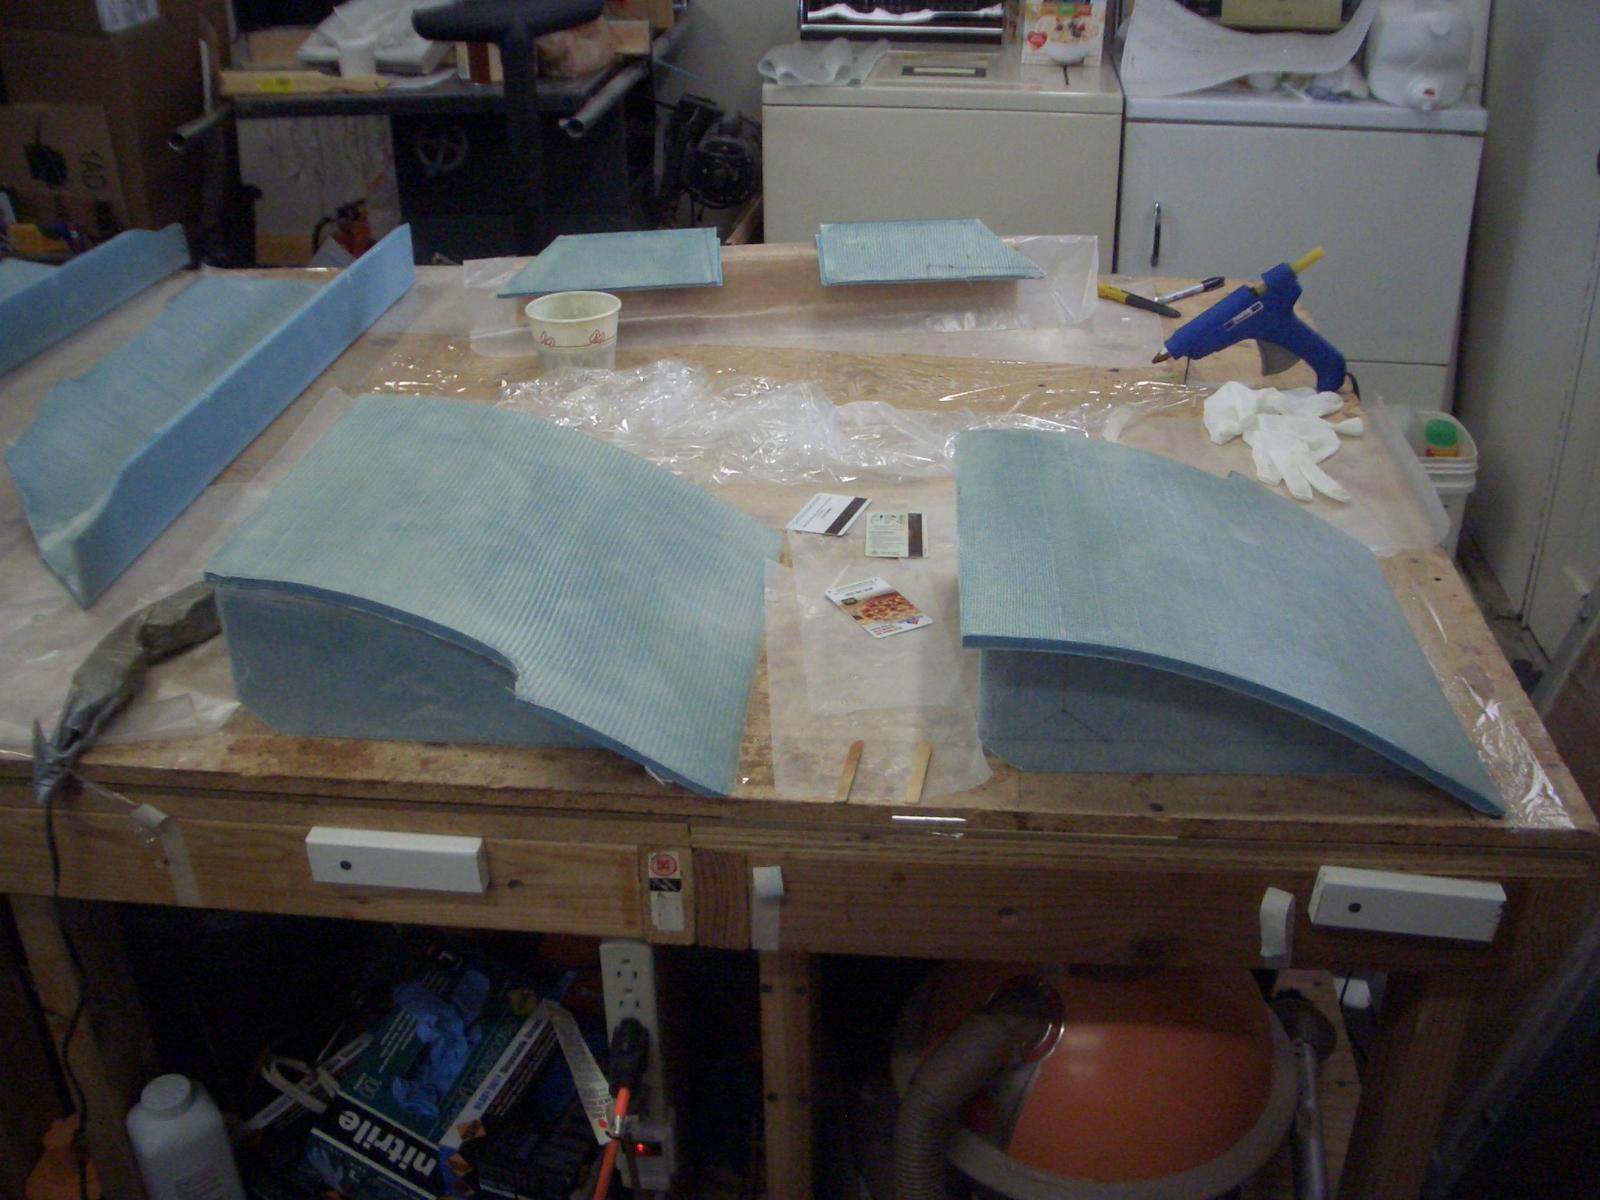
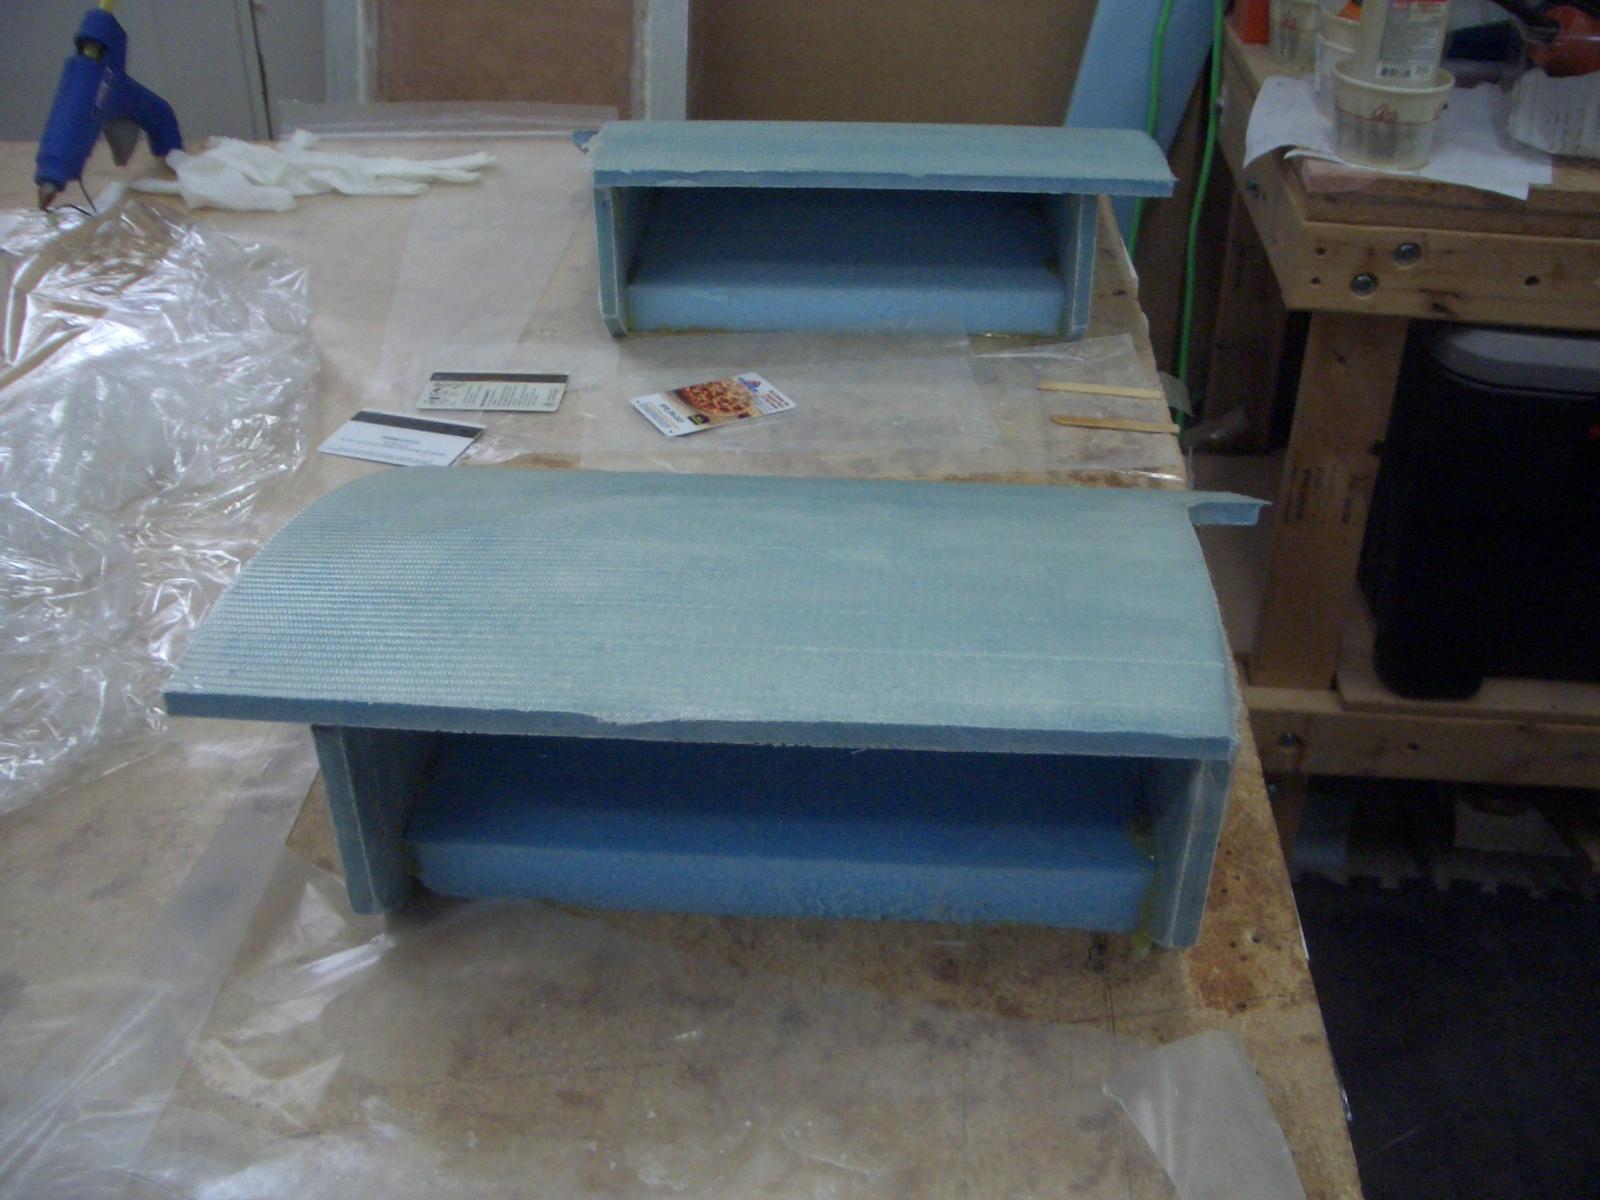
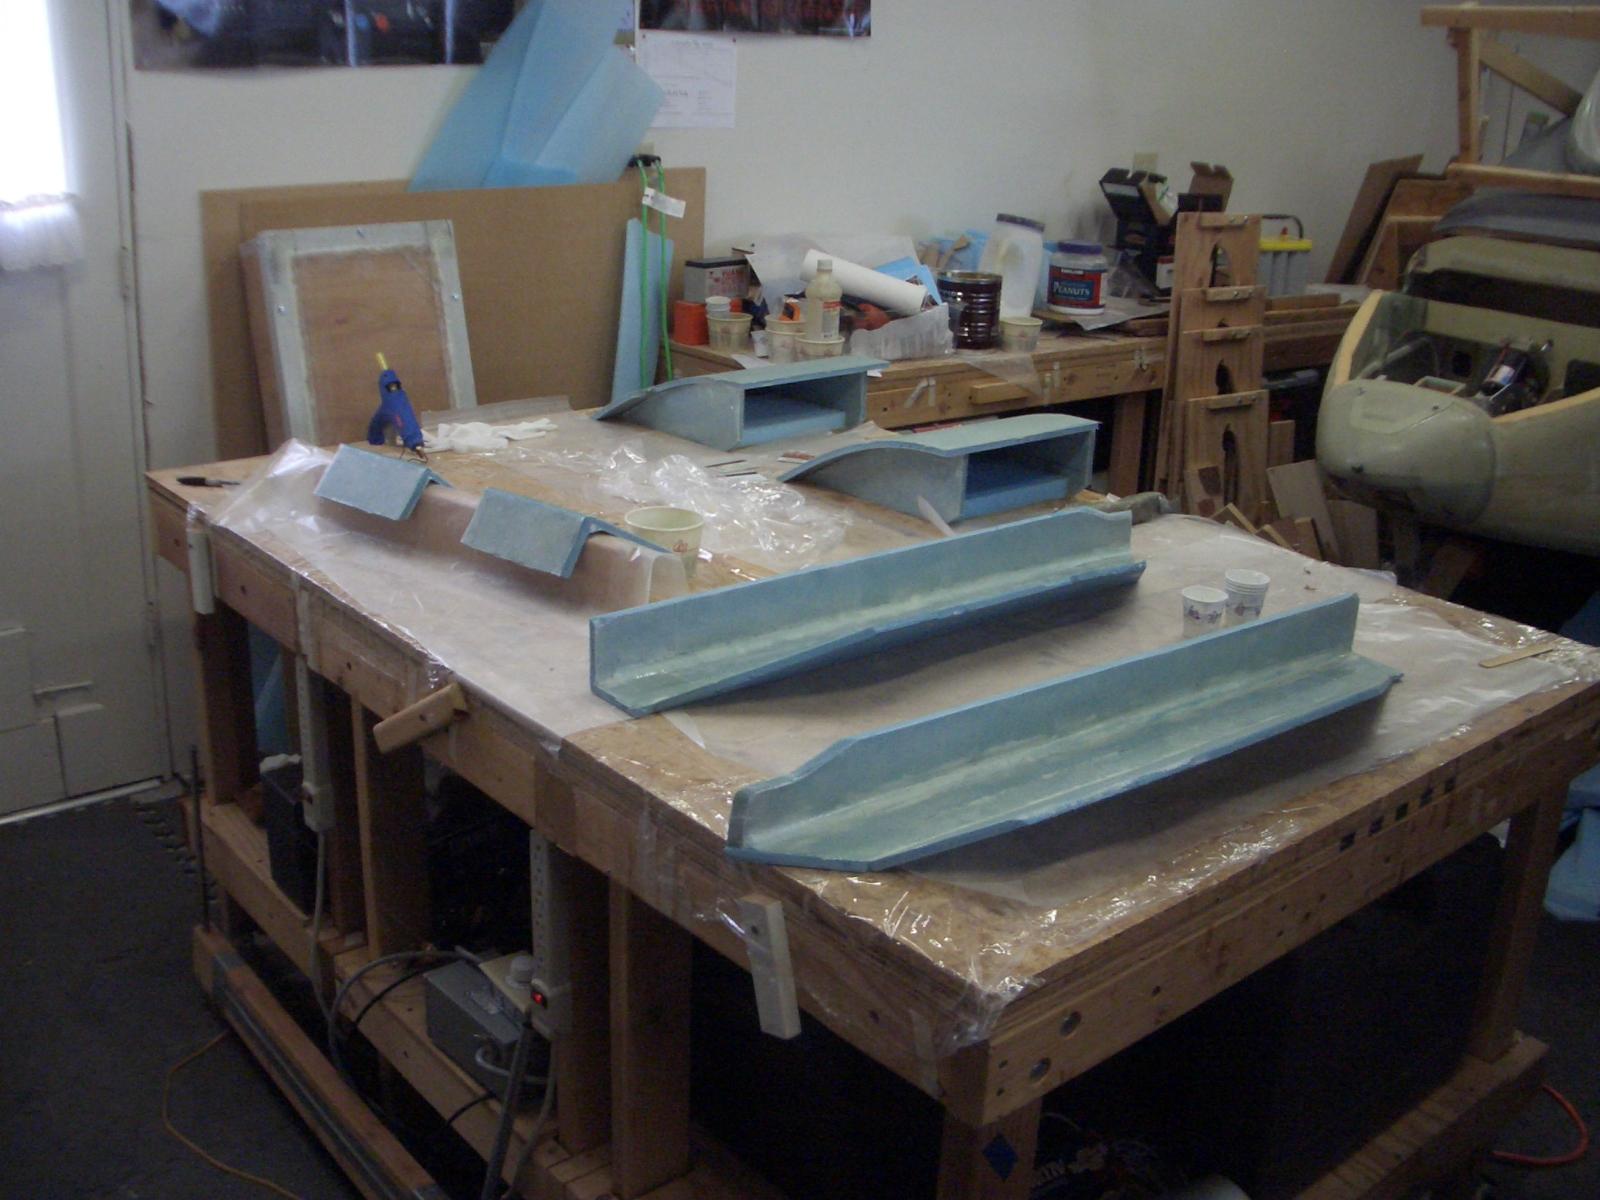
The thigh supports are really easy and fun to make. Start out by making the ribs which attach to the fuselage floor. Then the thigh supports are cut to size and fiberglassed on one side. Horizontal saw cuts are made through the foam to the fiberglass. These saw cuts allow the thigh support to be shaped to the ribs. The saw cuts are filled with micro and fiberglassed with two plys of BID.
The plans have the thigh supports made after the ribs are installed in the plane. However, I didn't feel like bending over the fuselage side to work on the fuselage bottom, so I decided to make them on the bench. It was much easier. The pieces are held together with hot melt glue while the fiberglass cures.
Step 4 - Rear Seat Armrests
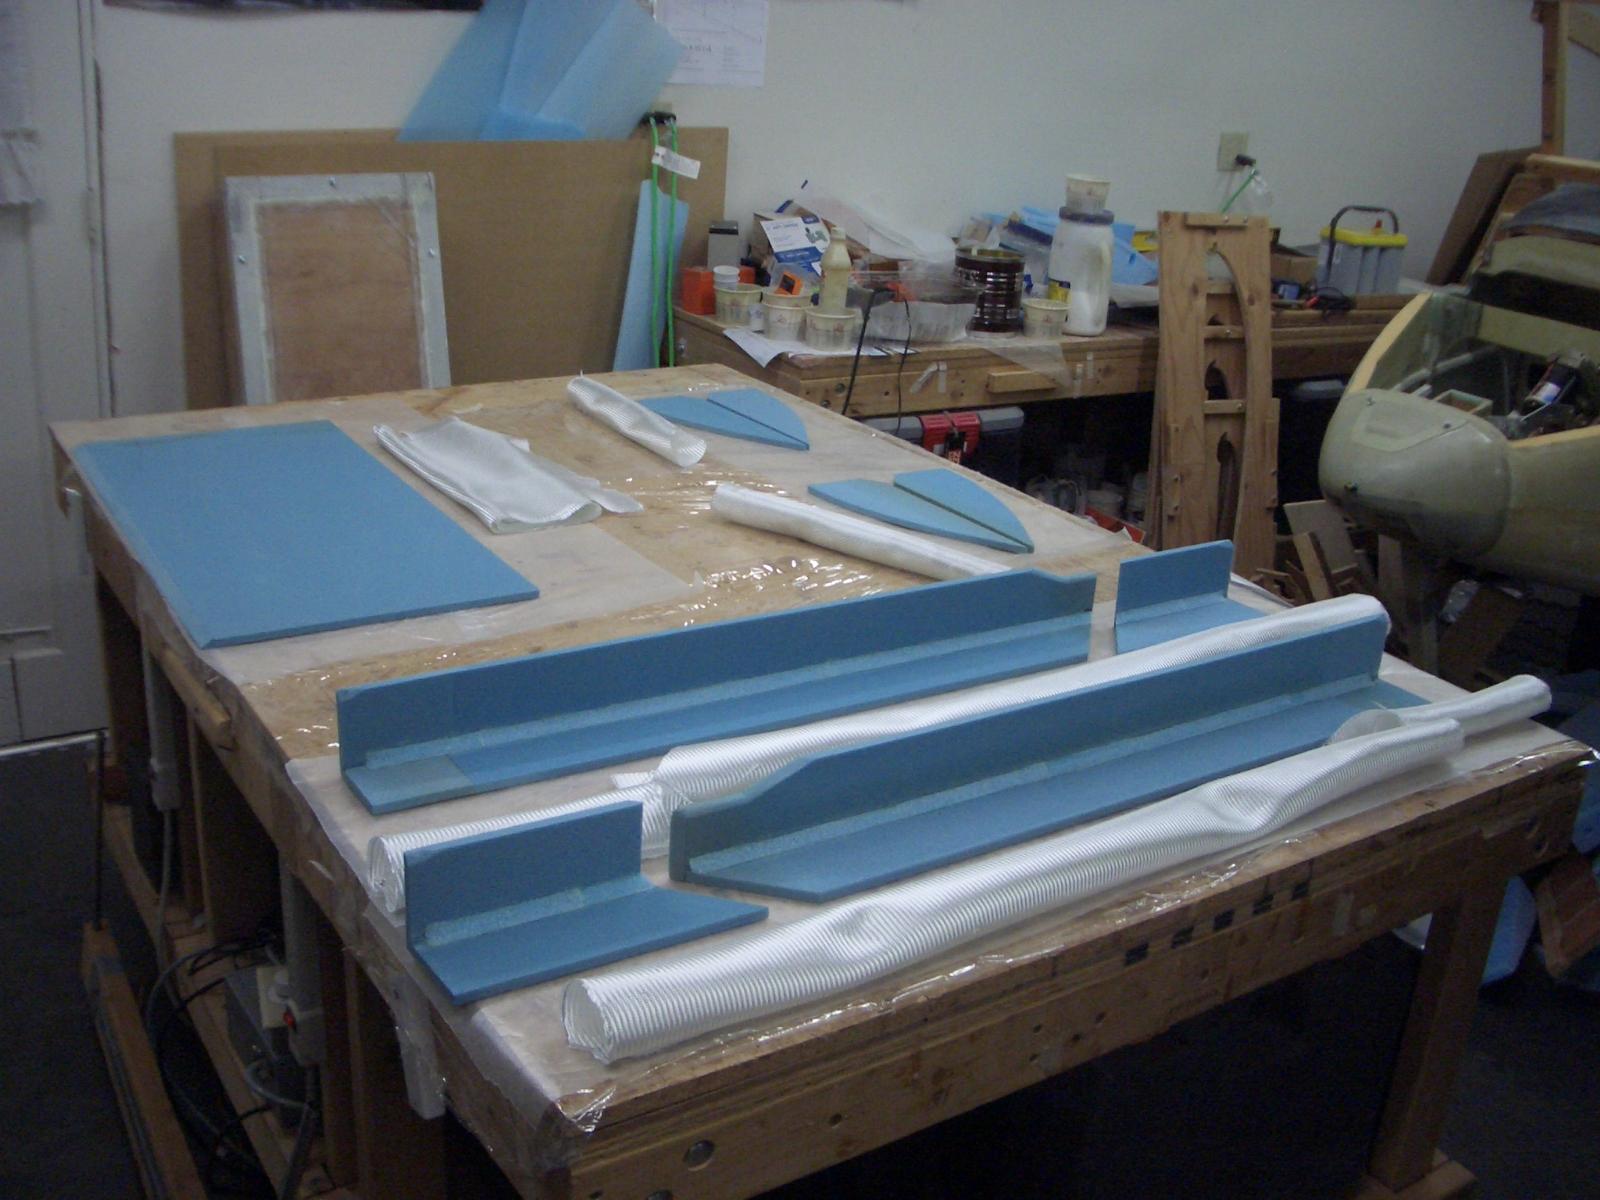
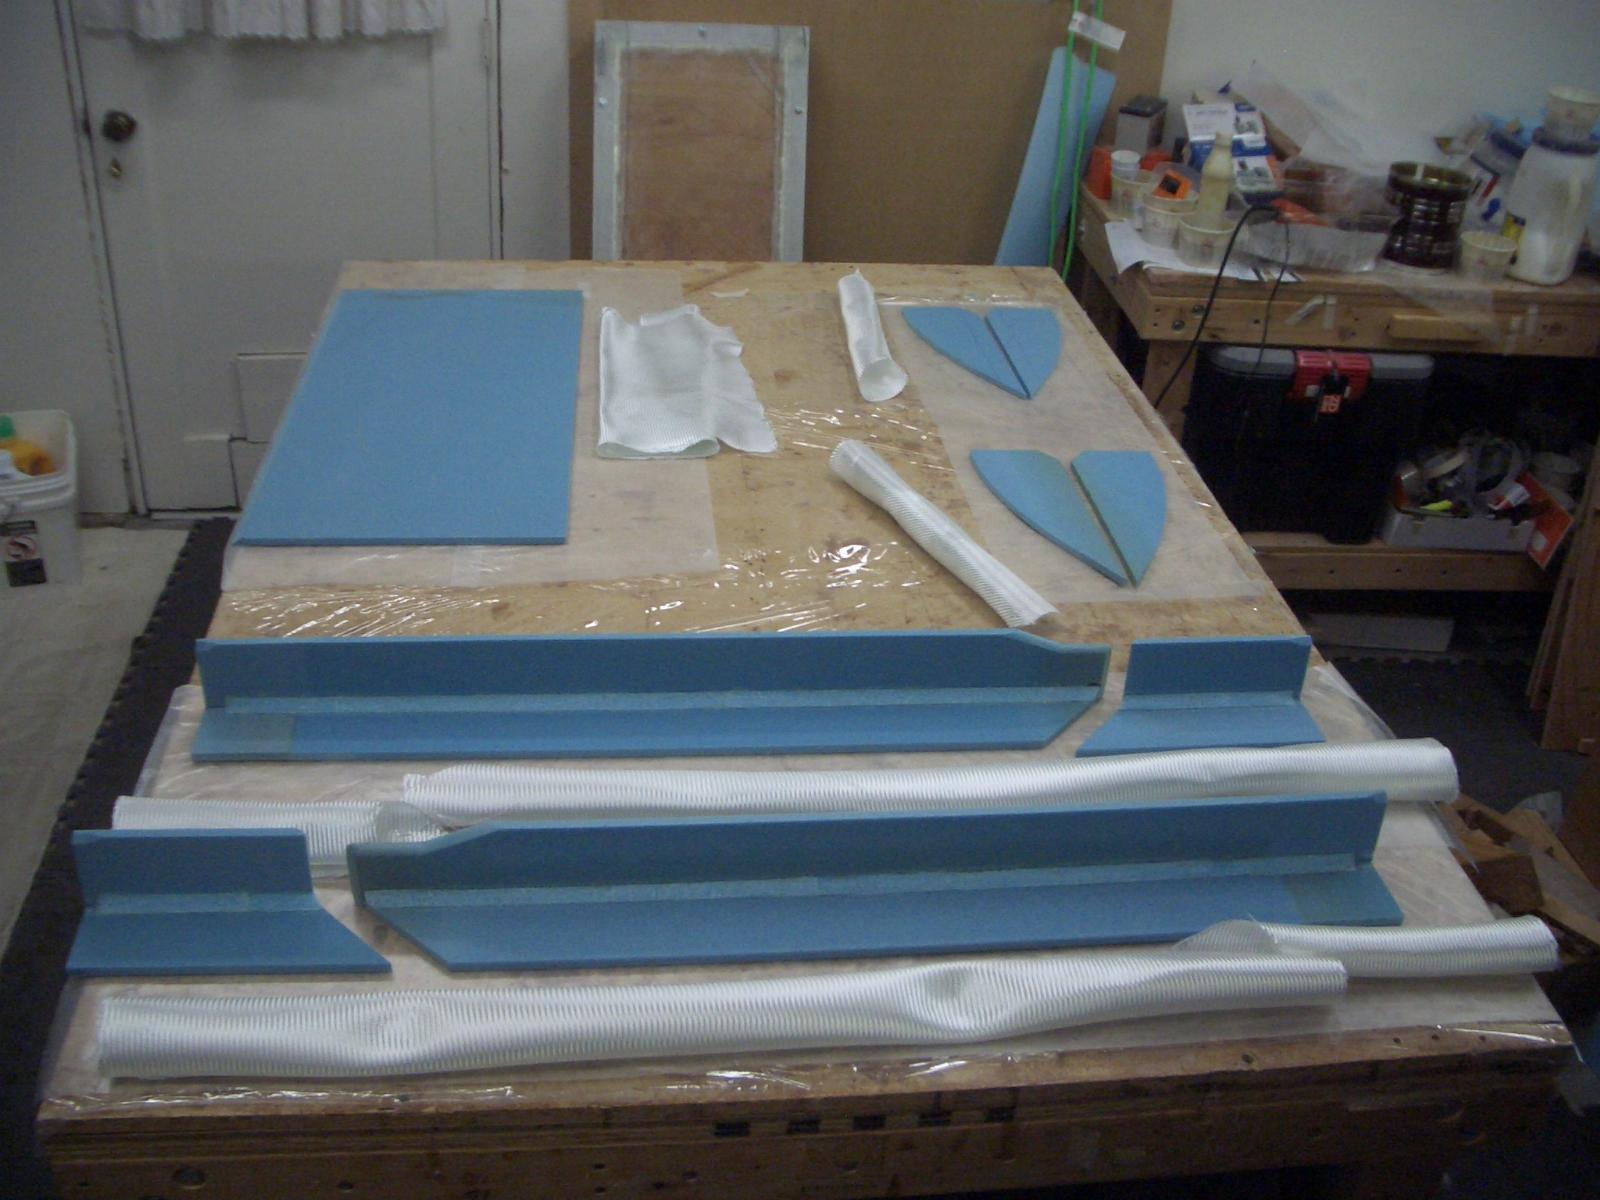
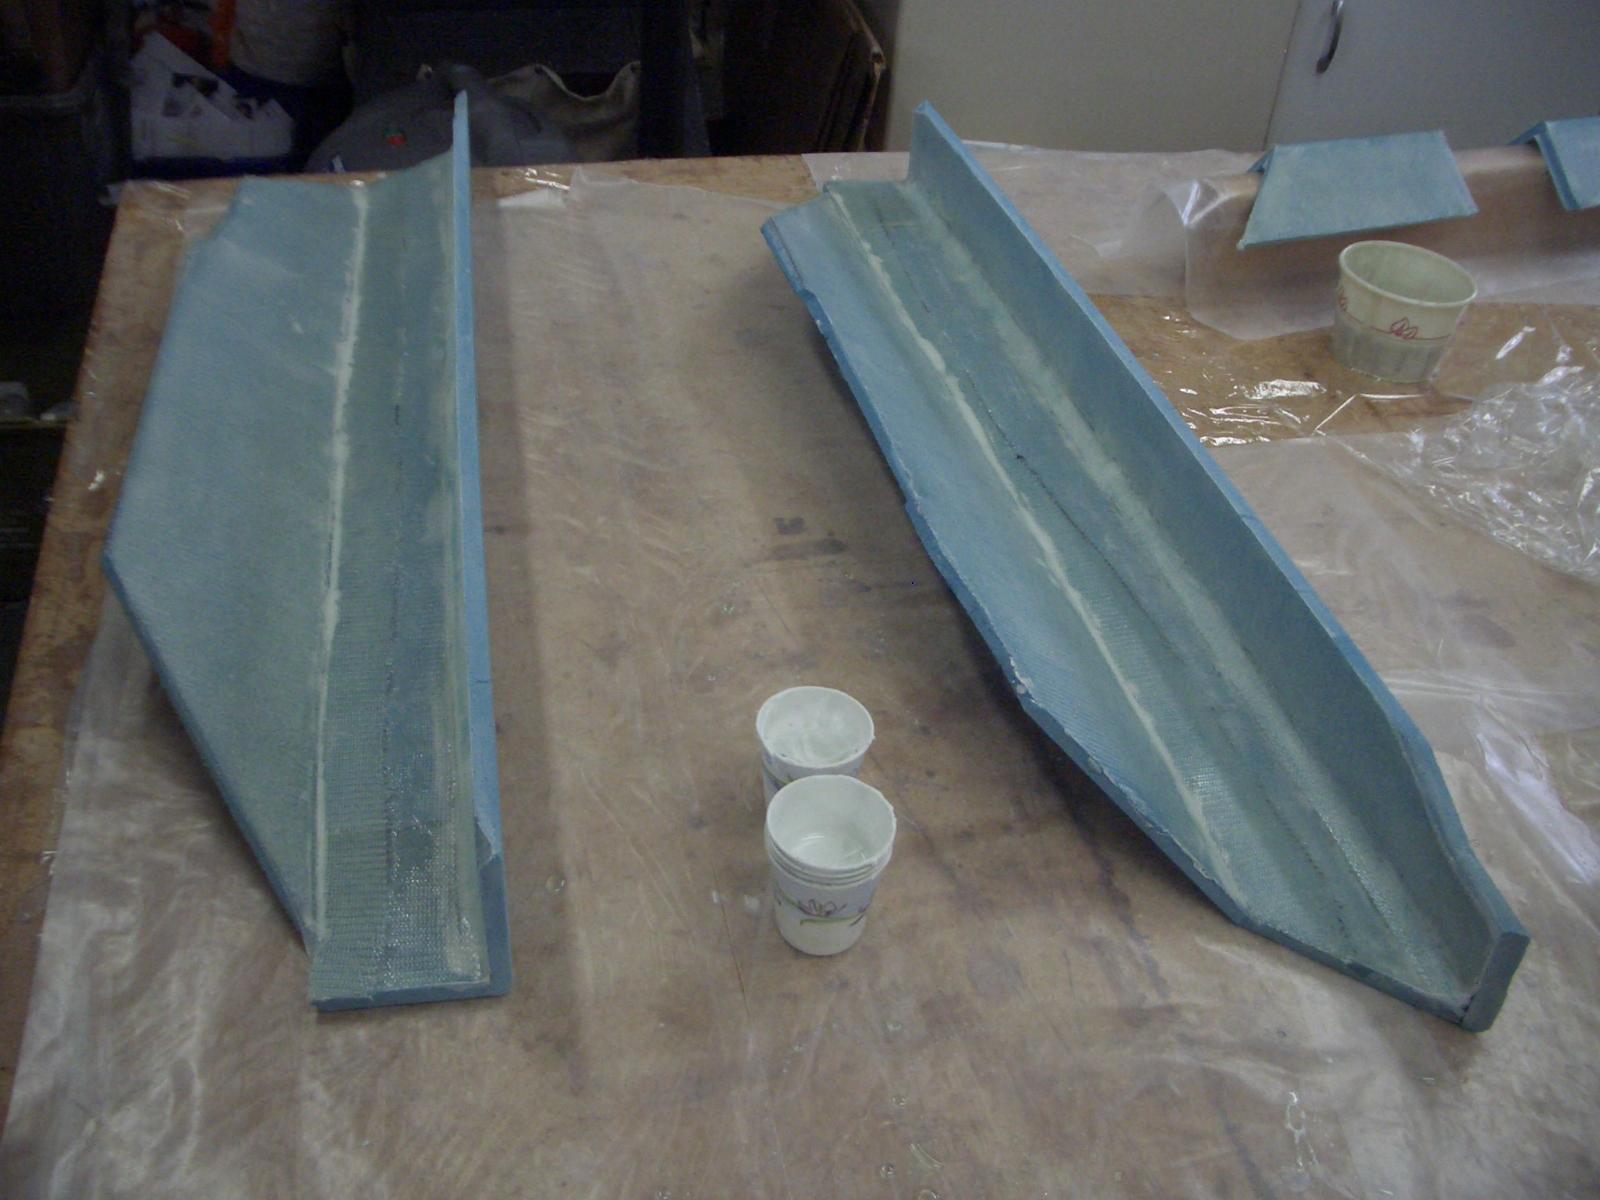
The rear armrests were much easier to make. I guess the practice we had making the front seat armrests paid off.
The armrests are made with one ply of BID on the inside and two plies of BID on the outside.

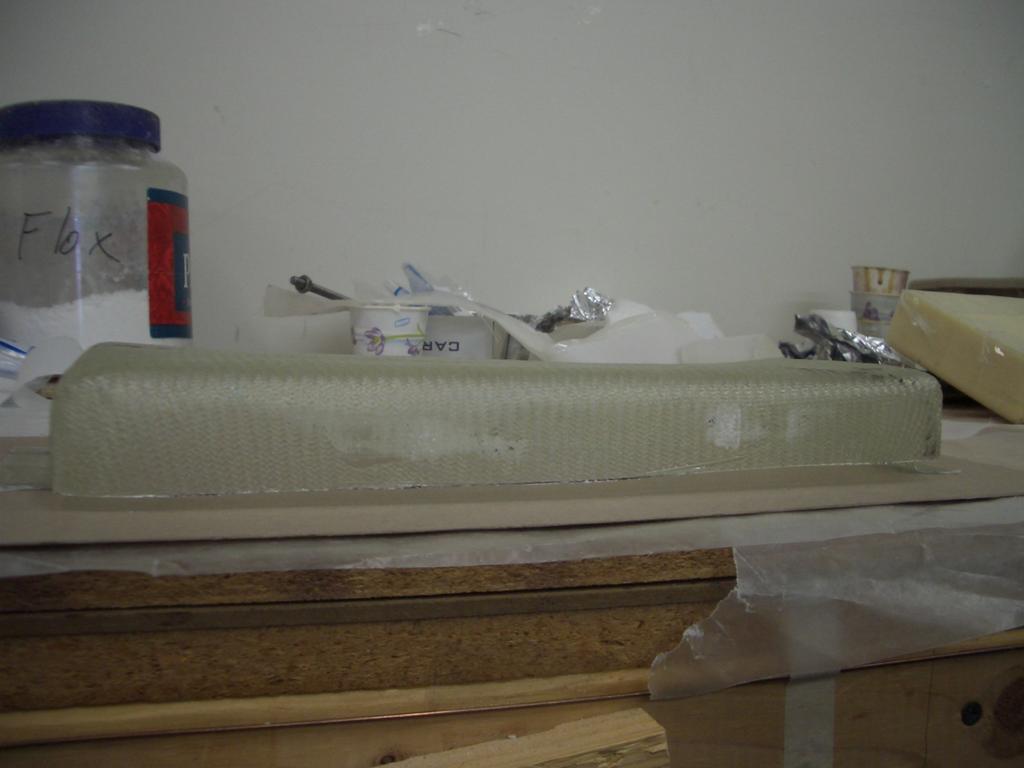
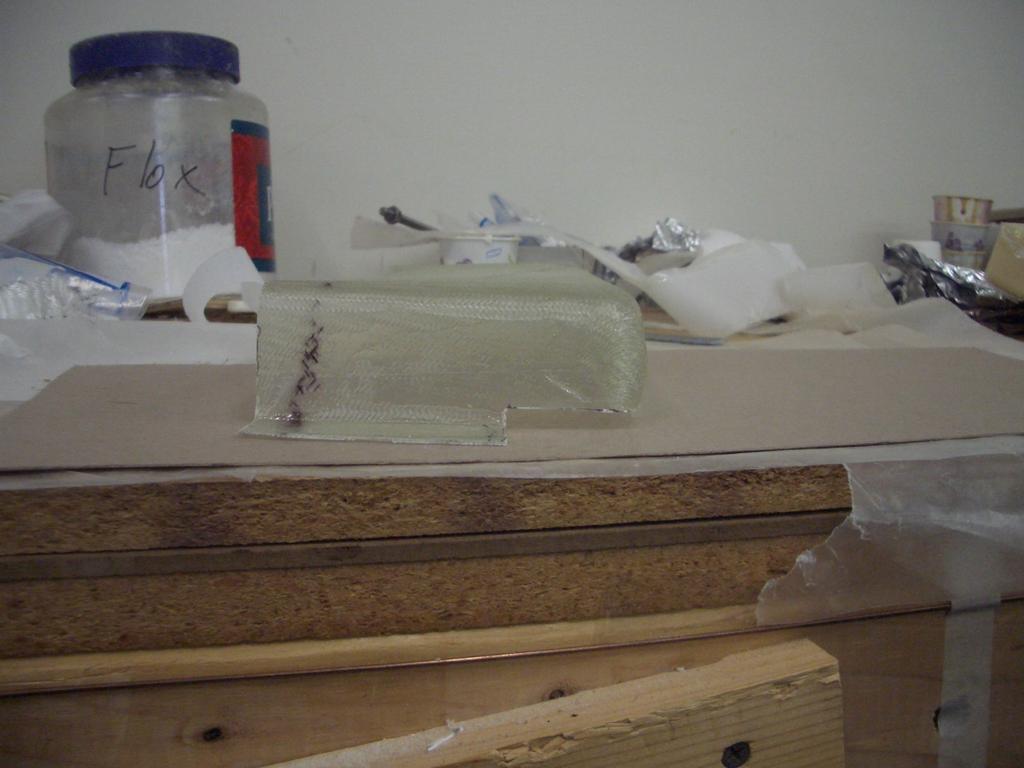
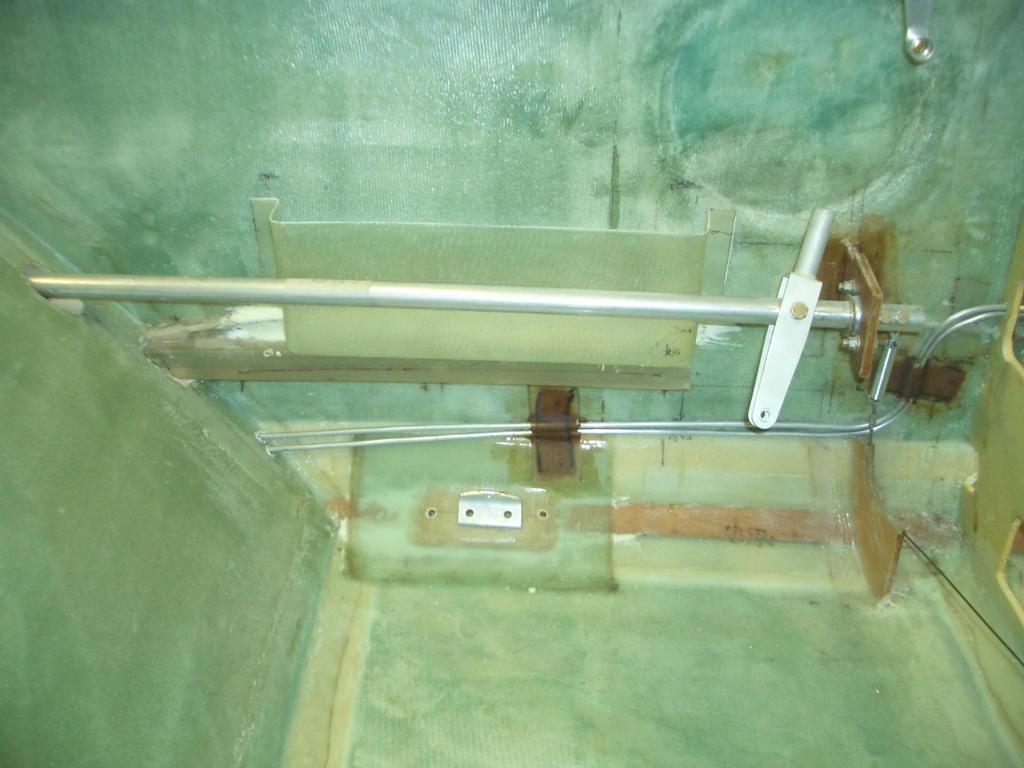
The forward part of the rear seat armrests will be between the back of front seat and the airleon torque tube support. I wanted a good attachment to the torque tube support for both the forward and aft portions of the armrests so I removed the foam on the forward part. When the aft portion is put in place, it will fit over the cutout portion of the foward piece.
Step 5 - Heat Duct Cover
Details of step will go here
Step 6 - Back Seats
Details of step will go here
Step 7 - Landing Brake and Battery Cover
Details of step will go here
Step 8 - Canard Cover
Details of step will go here
Step 9 - Strake Fairings
Details of step will go here
Step 10 - Wing Centerspar Seal
Details of step will go here
Step 11 - Optional Ice Shields
Details of step will go here
