Chapter 5 - Fuselage Sides
Chapter Overview
In this chapter, the sides of the fuselage will be made. Jigs will be made to provide the correct fore to aft curvature of the fuselage sides.
Step 1 - Cutting the jigs and laminating the top longerones
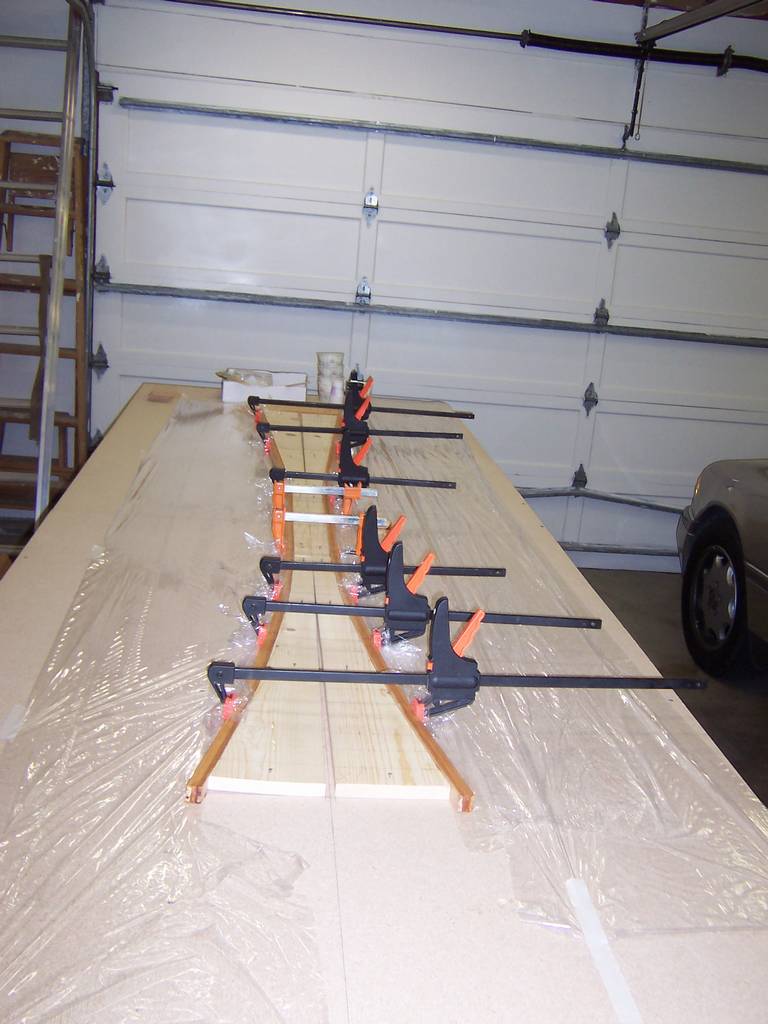
The forms for the fuselage side are made. Initially, they are lying down as shown. This is so the upper longerons can be formed. The longerons are made from three pieces of thin wood which are 105 inches long. These are epoxied together and clamped to the forms. The interesting part is the upper longerons have a slightly tighter radius than the foam sides. To create the tighter radius, the forms are offset 1/2 inch as shown in the photo below.
Hint: Save the form pieces made from the white pine. They can be used in chapter 7 to make the rotisserie.
|
|
| Forms for making upper longerons. Hint: Save the above form pieces. They can be used in chapter 7 to make the rotisserie . |
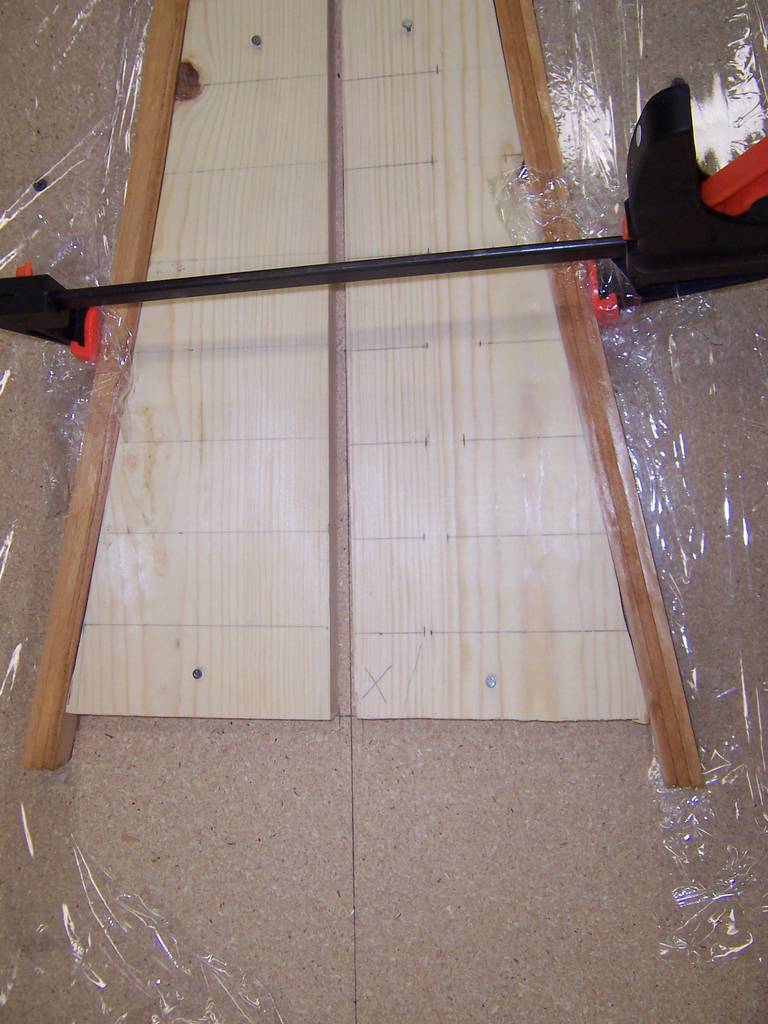
Close up of form. Note the gap between the left and right forms |
Step 2 - Building the forms for the fuselage sides and preparing the sides for contouring
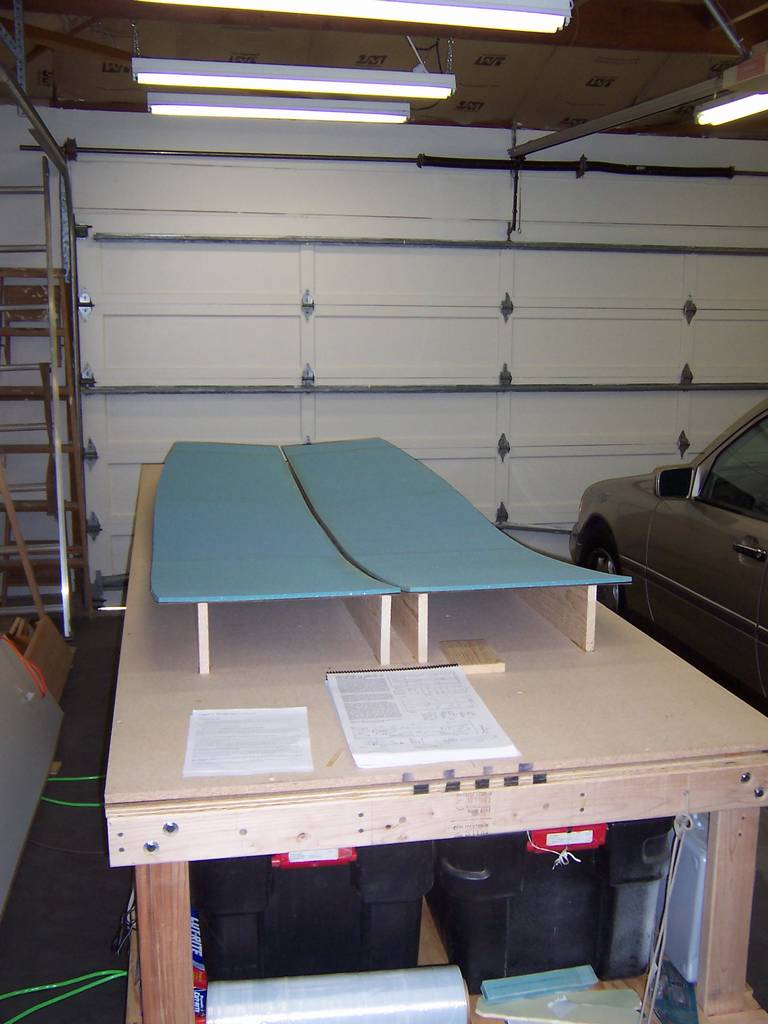
After the upper longerons have been made, the forms are rotated upward. Thin masonite is is placed on the forms to hold the foam in the correct shape. The foam is then cut and placed in the forms. Then more foam is placed along the edges to give it a little shape.
|

|
| The foam has been placed onto the forms. | Additional foam is epoxied around the edge to give the sides some depth. |
Step 3 - Contouring the insides
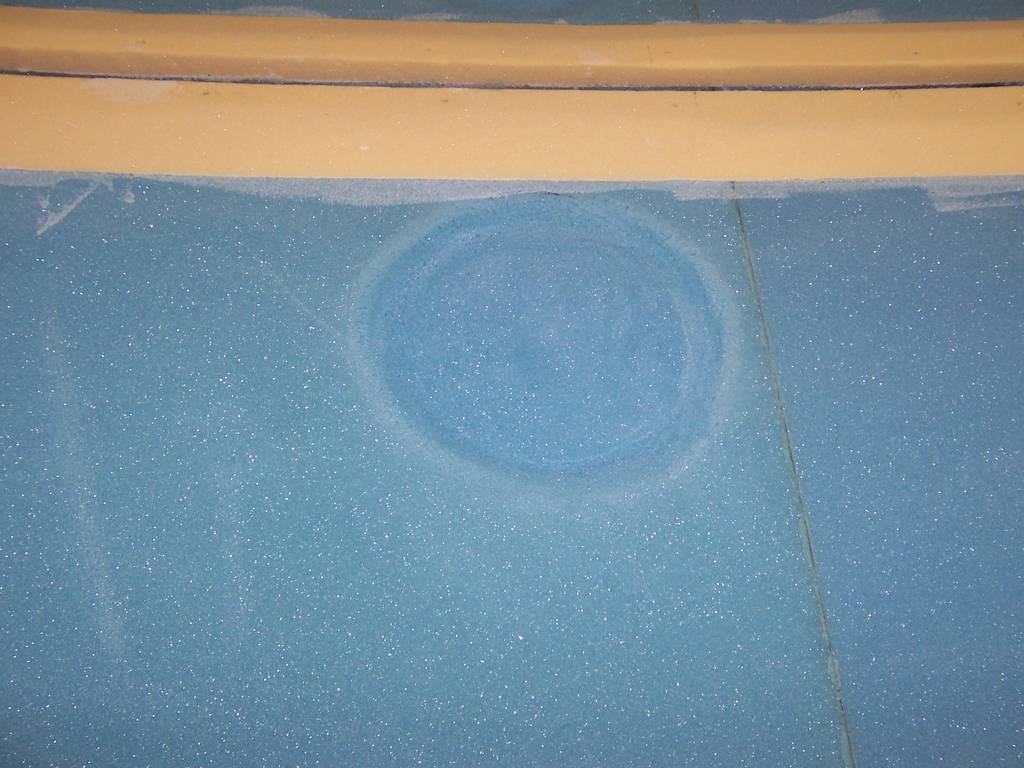
Next depressions are carved into the foam. The circular depression is located next to the side stick and is to give your hand a little more room to move. The rectangular depression is for the fuel gauge.
|

|
| Circular depression to give more room to operate the side stick. | Rectangular depression for the fuel guages. |
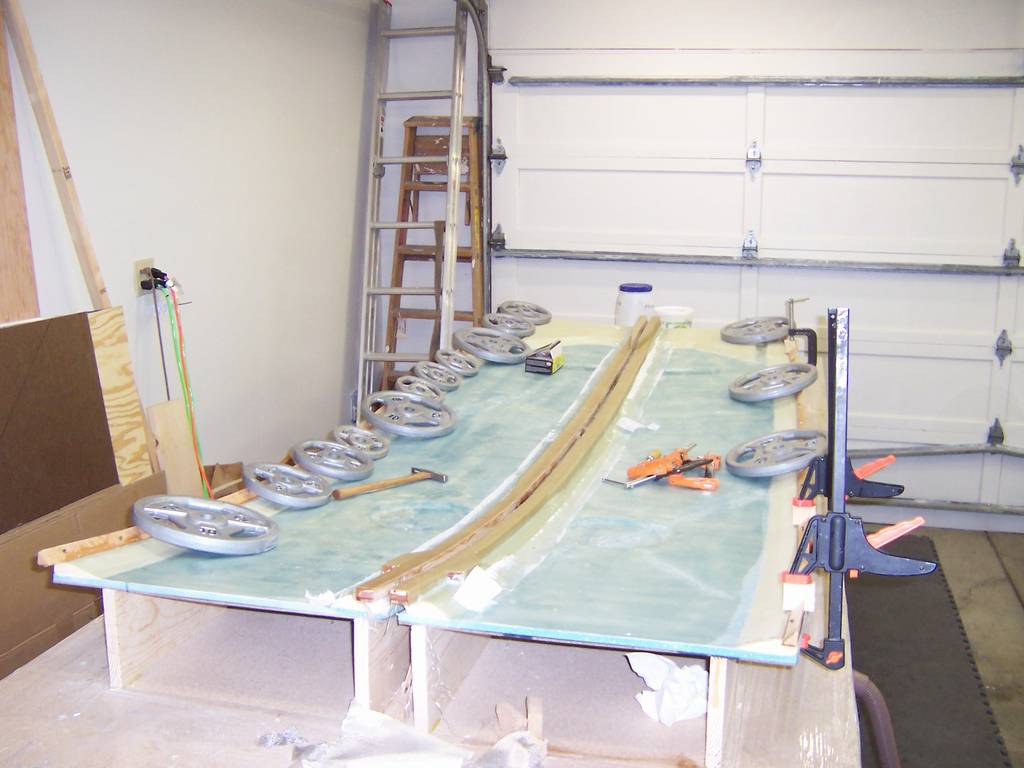
Step 4 - Inside layup and installing the upper longerons
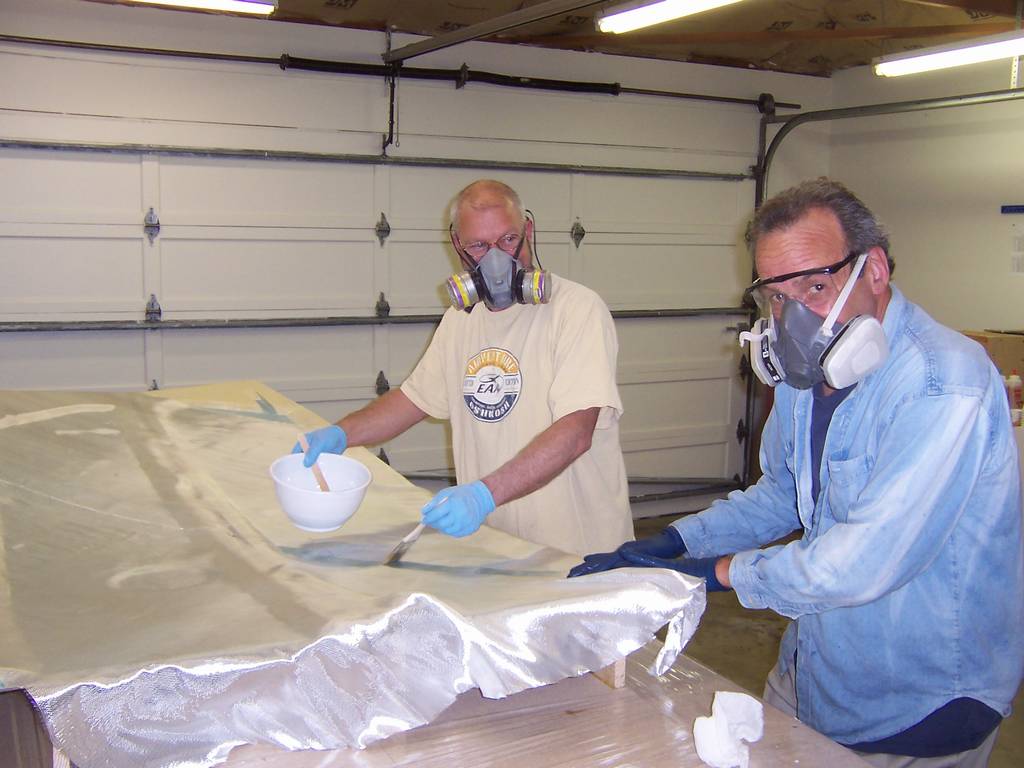
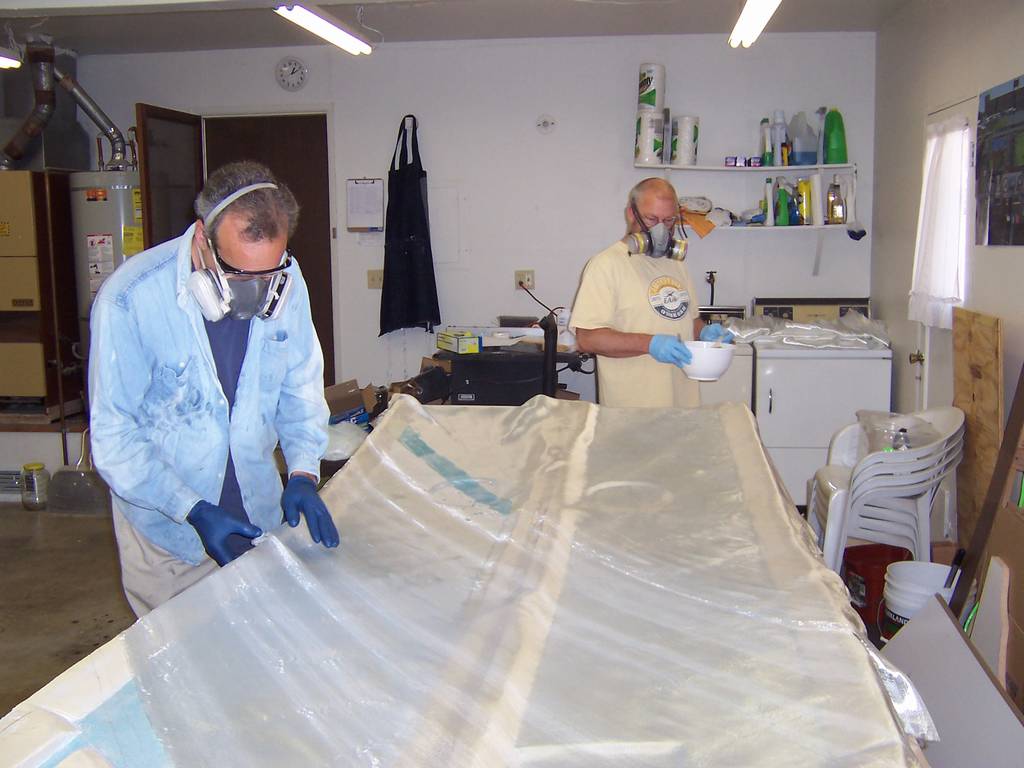
This is the first really large layup of the project. The instuctions say it should take 3 to 4 hours. However most builders do this layup on their own and take around 11 hours. Since I knew a couple of Cozy builders in the area, I thought it would be a good idea to ask for help. Ted Davis and Neil Freidman were gracious enough to volunteer to help and boy am I glad they did! The layup was large and very tiring, even though it only took us 3 1/2 hours to complete. Thank you guys!!!

|
|
| Jeff Owen helping me to prepare for the big layup. | Ted Davis (left) and Neil Freidman (right) working the largest layup so far for this project. |
|
|
| Another shot of Neil (left) and Ted (right) | Charles in wonderment at the completion of this layup. |

|
| Hey, that's me adding some epoxy to the layup! |
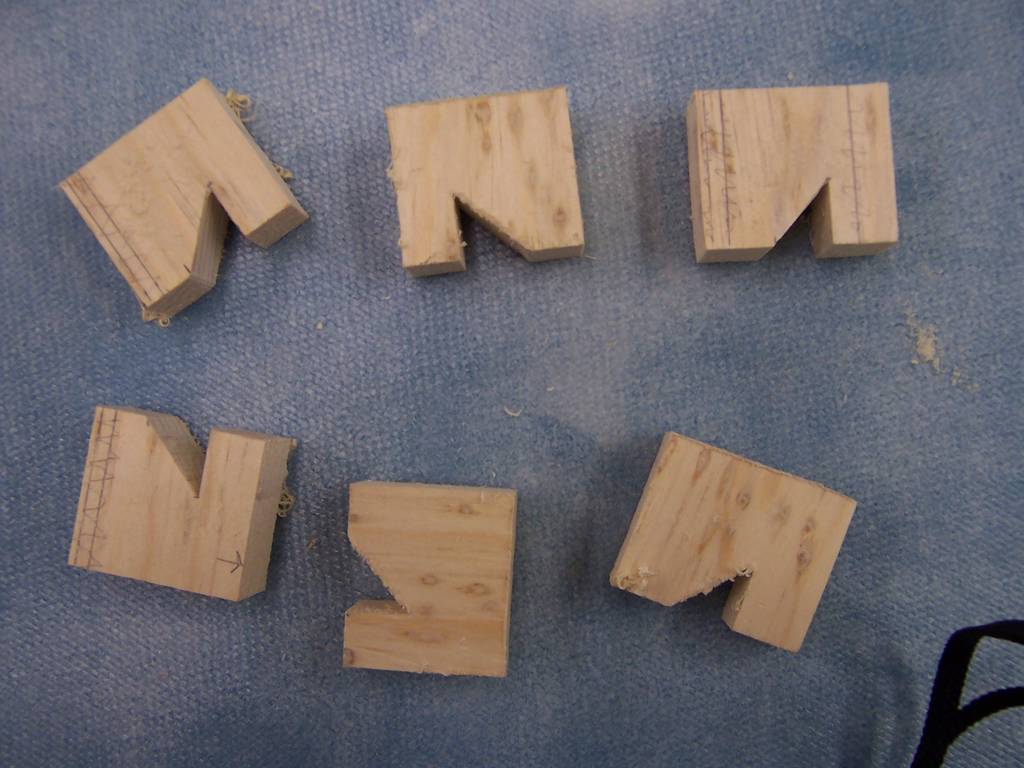
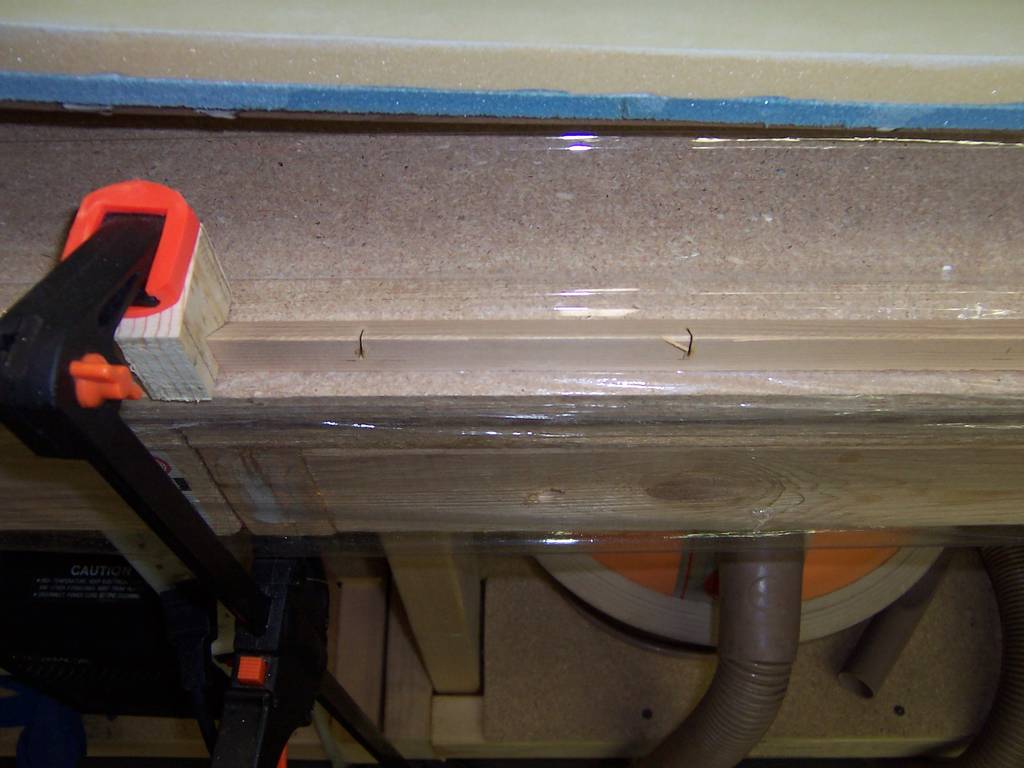
Step 5 - Installation of lower triangular longerons
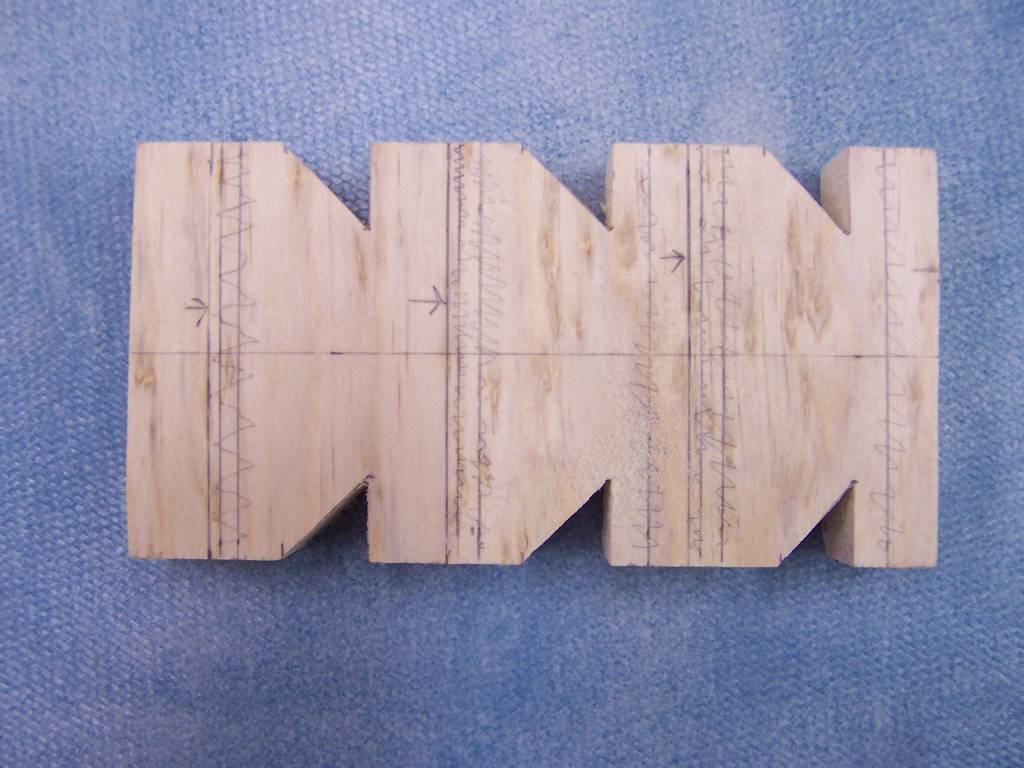
The lower longerons are triangular in shape. This makes it difficult to use clamps to hold them in place as the clamp will squeeze the thin edge of the triangle. To give the clamp more area of contact, Rick Maddy came up with a idea to make triangles to place over the longeron. The photos below show how I made them from a single block of 1 inch pine board which was left over from making the forms for this chapter.
|
|
| One piece of pine board used to make all triangular supports. | After cutting all of the triangles, each one was then cut to size of 1.5 x 1.5 inches. |
|
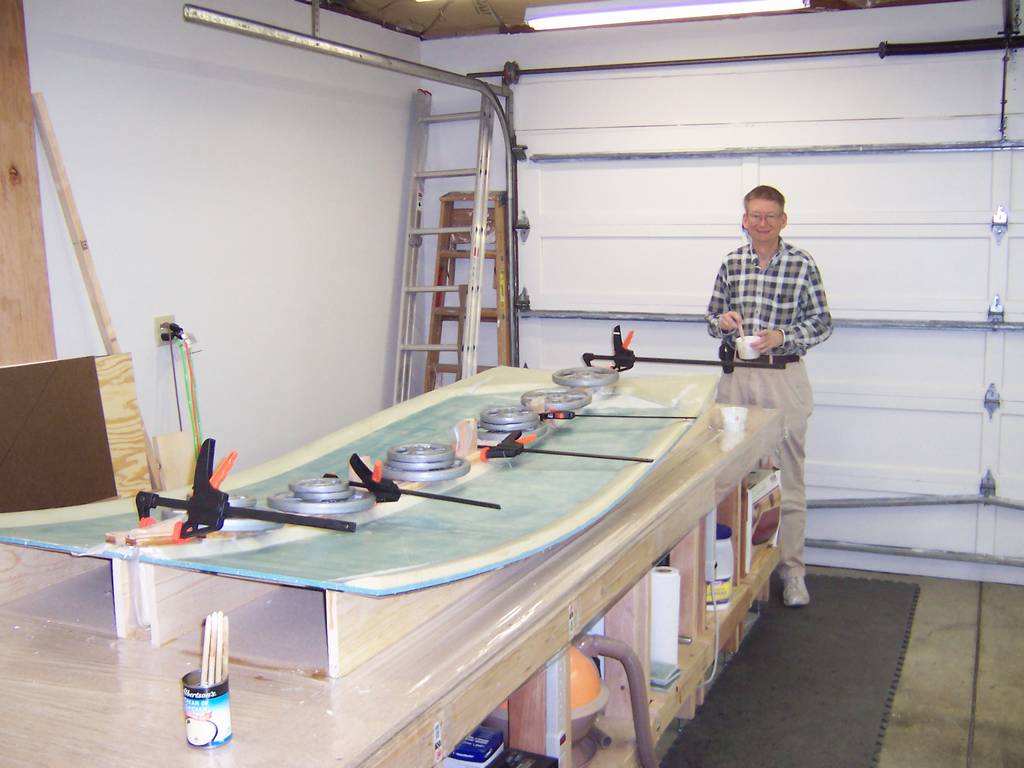
|
| Shown here is how the clamp and the above triangular blocks work together to hold the longeron in place. | Weighting down the lower longerons during cure |
In addition to the longerons, there is a lot of fiddily work to be done on the rear section of each fuselage side. Wooden doublers are added to the lower longerons. Wooden braces are floxed into place. An electrical channel is made under one of the wooden blocks. The electrical channel is then lined with fiberglass. Whew! This was many hours of work for so few items accomplished!
Step 6 - Completion of the fuselage sides
This step continues working on the aft section of the fuselage sides. A cover for the electrical channel is made from fiberglass. Then the entire area (except for the electrical channel, is filled with foam and covered with six plys of BID fiberglass. Finally the fuselage sides are cut to length. Yea! Done with chapter 5!!! On to chapter 6!

|
| The completed fuselage sides. Note the cutout in the aft for the spar. |
Hint: Save the form pieces made from the white pine. They can be used in chapter 7 to make the rotisserie.